Homemade Cream of Coconut Syrup
- Time: Active 5 minutes, Passive 10 minutes, Total 15 minutes
- Flavor/Texture Hook: Glossy, silky smooth coconut nectar
- Perfect for: Backyard tiki parties or topping summer desserts
- DIY Silky Cream of Coconut for Tropical Cocktails
- The Science Behind This Thick Syrupy Texture
- Component Analysis for Perfect Consistency
- Essential Ingredients and Practical Substitute Options
- Minimal Kitchen Tools Needed for Best Results
- Step by Step Simmering for a Velvet Finish
- Fixes for Common Texture and Separation Issues
- Creative Flavor Twists and Easy Ingredient Swaps
- Adjustment Guidelines for Different Batch Sizes
- Storage Guidelines and Zero Waste Tips
- Serving Ideas and Final Touches
- Cream of Coconut FAQs
- 📝 Recipe Card
DIY Silky Cream of Coconut for Tropical Cocktails
I still remember the first time I tried to make a Piña Colada from scratch. I thought I could just shake up a can of regular coconut milk with some pineapple juice and call it a day. What I ended up with was a watery, broken mess that tasted like nothing.
It was a total disaster that sat sadly in a plastic cup while my friends looked on. That was the day I realized that the "cream" part isn't just a suggestion, it is a specific, syrupy chemistry that you can't fake with standard pantry staples.
This recipe is the result of me tinkering in my kitchen on a humid Tuesday afternoon when I was craving something tropical but didn't want to run to the store for a specific blue labeled can. I wanted something that would actually stay emulsified when it hit cold ice, rather than separating into weird white clumps.
By simmering the milk with a precise amount of cane sugar and a touch of desiccated powder, we create something so much better than the store-bought versions.
You are going to love how this coats the back of a spoon. It has this incredible shimmer and a deep, concentrated coconut soul that makes everything it touches taste like a vacation.
We are keeping things simple here, using only basic tools, because I know you'd rather spend your time enjoying the drink than scrubbing a mountain of dishes. Trust me, once you see how easy this is, you'll never go back to the pre made bottles.
The Science Behind This Thick Syrupy Texture
The Physics of the Emulsion: Simmering the sugar directly into the high fat coconut milk forces the water molecules to bind with the sucrose, creating a stable syrup that prevents the coconut fats from separating.
The addition of desiccated powder acts as a natural stabilizer, providing tiny surface areas that help keep the fat globules suspended in the liquid.
Cook Method Result Comparison
| Method | Time | Texture | Best For |
|---|---|---|---|
| Stovetop | 10 minutes | Glossy & Thick | Cocktails and Drizzling |
| Oven (Water Bath) | 30 minutes | Custard like | Cake Fillings |
| Cold Whisk | 5 minutes | Thin & Grainy | Quick Smoothies |
Choosing the stovetop method is really about speed and control. While the oven provides a very gentle heat, it takes far too long for a simple syrup. The stovetop allows us to see exactly when the sugar has dissolved and when the mixture has reached that perfect, coating consistency.
It is the most reliable way to ensure you don't end up with a gritty finish.
Component Analysis for Perfect Consistency
| Ingredient | Science Role | Pro Secret |
|---|---|---|
| Coconut Milk | Fat Source | Use only 17% fat or higher for a velvety mouthfeel. |
| Cane Sugar | Viscosity Agent | Fine granules dissolve faster, preventing a sandy texture. |
| Sea Salt | Flavor Enhancer | A tiny pinch suppresses bitterness and makes the coconut pop. |
Essential Ingredients and Practical Substitute Options
- 1 can (400ml / 13.5 oz) Full fat Coconut Milk: This is the backbone of the recipe. Why this? The high fat content is required for that signature creamy, thick texture.
- Substitute: Heavy cream (but you'll lose the coconut flavor).
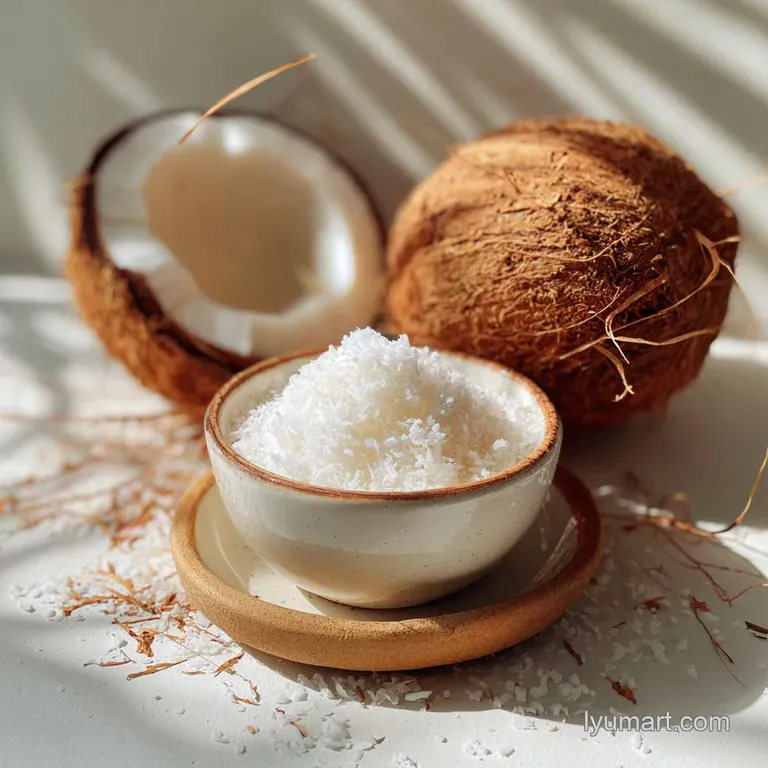
- 15g (2 tbsp) Unsweetened Desiccated Coconut Powder: This adds body and intensifies the aroma. Why this? It acts as a natural thickener and flavor booster.
- Substitute: Shredded coconut pulsed in a blender until fine.
- 300g (1.5 cups) White Granulated Cane Sugar: Provides the sweetness and the syrupy body. Why this? It dissolves cleanly without altering the white color.
- Substitute: Light brown sugar (will add a caramel note and darken the color).
- 1g (1/8 tsp) Fine Sea Salt: Balances the heavy sweetness. Why this? Salt highlights the nutty notes of the coconut.
- Substitute: Standard table salt (use slightly less).
- 2.5ml (1/2 tsp) Pure Coconut Extract: For that final punch of flavor. Why this? It rounds out the profile with a professional finish.
- Substitute: Vanilla extract for a more "cake like" aroma.
Minimal Kitchen Tools Needed for Best Results
You really don't need a fancy lab for this. A simple small saucepan and a whisk are your best friends here. I prefer a silicone coated whisk if you're using a non stick pan to keep things quiet and scratch free. You will also want a clean glass jar for storage, something with a tight seal.
If you want to get fancy, a digital scale is great for the sugar and coconut powder, but standard measuring cups work just fine if you're careful. The key is just making sure you have a consistent, low heat source so you don't scorch the sugars at the bottom of the pot.
step-by-step Simmering for a Velvet Finish
- Prepare the pan. Place your small saucepan over medium low heat.
- Combine the liquids. Pour the 1 can (400ml / 13.5 oz) Full fat Coconut Milk into the pan. Note: Shake the can well before opening to mix the cream and water.
- Add the sweetener. Whisk in the 300g (1.5 cups) White Granulated Cane Sugar slowly.
- Incorporate the powder. Stir in the 15g (2 tbsp) Unsweetened Desiccated Coconut Powder and 1g (1/8 tsp) Fine Sea Salt.
- Heat gently. Whisk constantly for 5 minutes until the sugar is completely dissolved and no grains remain.
- Simmer for body. Bring to a very light simmer for 10 minutes until the liquid shimmers and thickens slightly.
- Final seasoning. Remove from heat and stir in the 2.5ml (1/2 tsp) Pure Coconut Extract.
- Cool the mixture. Let the liquid sit in the pan for 10 minutes before transferring.
- Store properly. Pour into a glass jar and seal tightly once it reaches room temperature.
Chef's Tip: To check the thickness, dip a cold metal spoon into the hot liquid. It should coat the back of the spoon without immediately running off, looking like a thin glaze.
Fixes for Common Texture and Separation Issues
Dealing with Separation
If you find a layer of oil on top of your cream, it usually means the heat was too high during the simmering phase. This causes the emulsion to "break," separating the fat from the water.
You can often save this by cooling it slightly and giving it a vigorous 30 second whirl in a blender to force the molecules back together.
Solving Grainy Texture
A gritty or sandy feel is almost always due to undissolved sugar. This happens if the liquid didn't get hot enough or if the sugar was added too quickly. To fix it, simply return the mixture to the saucepan and heat it gently over low heat, whisking constantly until you can no longer feel grains when rubbing a drop between your fingers.
| Problem | Root Cause | Solution |
|---|---|---|
| Gray Tint | Scorched Sugar | Use lower heat and whisk more frequently next time. |
| Too Thin | Lack of Reduction | Simmer for an extra 5 minutes to evaporate more water. |
| Rock Hard | Excess Sugar | Whisk in a tablespoon of warm water to loosen the structure. |
Common Mistakes Checklist
- ✓ Always use full fat milk; "lite" versions will never thicken properly.
- ✓ Avoid boiling the mixture vigorously; a gentle shimmer is all you need.
- ✓ Ensure the desiccated powder is unsweetened to avoid sugar overload.
- ✓ Don't skip the salt, as it is the only thing keeping the sweetness in check.
- ✓ Let it cool completely before refrigerating to prevent condensation.
Creative Flavor Twists and Easy Ingredient Swaps
If you want to play around with the flavor, try replacing the coconut extract with a splash of dark rum or toasted almond extract. It changes the vibe completely. For a fun weekend project, you could even drizzle this over a Strawberry Cheesecake Dump recipe for a tropical berry fusion that is honestly addictive.
For those who like a bit of spice, whisking in a pinch of cinnamon or cardamom while simmering creates a sophisticated syrup that works beautifully in iced coffee. If you're looking for something more savory, this syrup can actually be used as a base for a sweet and spicy glaze for shrimp or tofu.
It's surprisingly versatile once you start thinking outside the cocktail glass.
Adjustment Guidelines for Different Batch Sizes
Halving the Batch: Use half a can of milk and exactly half the other ingredients. Reduce the simmering time to about 6 minutes, as the smaller volume will evaporate water much faster. Use a very small pot to prevent the syrup from spreading too thin and burning.
Doubling the Batch: Double all ingredients but keep the salt to 1.5x (about 1.5g) to prevent it from becoming too savory. You will need to increase the simmering time by about 5 minutes to account for the extra liquid volume.
Scaling for Large Parties: If you're making this for a crowd, work in batches rather than trying to quadruple it in one giant pot. The sugar can be temperamental in large volumes and might settle at the bottom before it has a chance to dissolve properly.
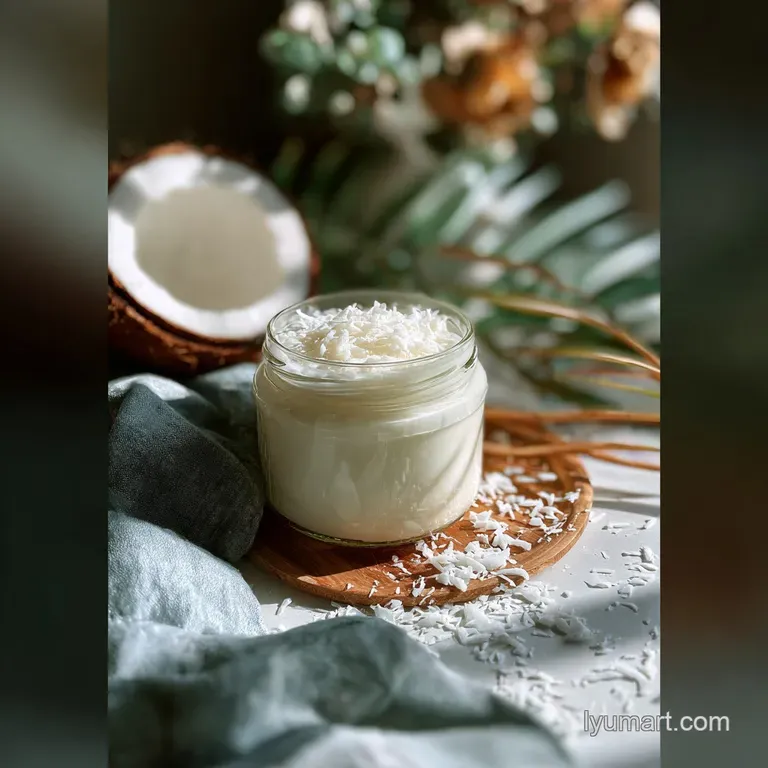
Storage Guidelines and Zero Waste Tips
This homemade nectar will stay fresh in an airtight jar in the fridge for about 10 days. Because it doesn't have the heavy preservatives of the store-bought stuff, you'll notice it firms up quite a bit when cold. Just give it a good stir or a quick 10 second zap in the microwave to bring it back to a pourable state.
It also freezes beautifully in ice cube trays for up to 3 months just pop a cube into your blender for an instant frozen treat.
If you have leftovers that you don't think you'll use in drinks, try using a tablespoon of it to balance the acidity in a savory dish like a Marry Me Chickpeas recipe. The sugar and coconut fat act as a brilliant bridge between spices and cream. Don't throw away the empty coconut milk can either! Rinse it out and use it as a makeshift herb starter pot or a container for kitchen scraps while you prep.
Serving Ideas and Final Touches
The most obvious use is a Piña Colada, but don't stop there. This is a dream when drizzled over a fresh Homemade Vanilla Cupcakes Recipe instead of traditional frosting. It soaks into the crumb and creates this moist, tropical bite that is much lighter than a heavy buttercream.
I also love using it in my morning oatmeal. A small spoonful swirled into warm oats with some fresh mango slices makes a boring breakfast feel like a luxury. If you're hosting, serve it in a small carafe alongside a fruit platter; it makes an incredible dip for fresh pineapple and strawberries.
However you use it, just remember that a little goes a long way because of that high sugar concentration. Enjoy your homemade tropical staple!

Cream of Coconut FAQs
What exactly is cream of coconut?
It is a thick, heavily sweetened coconut product. Unlike standard coconut cream, cream of coconut contains significant added sugar, giving it a syrupy, almost frosting like consistency ideal for tropical cocktails and desserts.
Is coconut cream and cream of coconut the same thing?
No, they are significantly different ingredients. Coconut cream is the thick layer skimmed from the top of chilled, pure, unsweetened coconut milk, whereas cream of coconut is manufactured to be very sweet and stable for mixing.
Is Coco Lopez just cream of coconut?
Yes, Coco Lopez is the most famous commercial brand of cream of coconut. It popularized the syrupy, sweetened coconut mixture used specifically in Piña Coladas and other tiki drinks.
What's a substitute for cream of coconut if I don't have any?
Substitute with thick coconut cream mixed with simple syrup. For every cup of store-bought cream of coconut needed, use about 3/4 cup of high fat coconut cream and whisk in 1/4 cup of prepared simple syrup, though the flavor won't be identical.
How can I make a homemade version that is better than the canned product?
Simmer full fat coconut milk with cane sugar over low heat until glossy. This stovetop method allows you to control the sugar ratio and achieve a superior, velvety emulsion, which is the same principle we use for balancing liquids in our Brownies Recipe From Scratch.
Does the texture change significantly when cream of coconut is refrigerated?
Yes, it becomes much firmer and thicker when cold. Because of the high sugar content, homemade or canned versions will solidify in the refrigerator; microwave briefly or stir vigorously to restore a pourable consistency.
Can I use cream of coconut in baking instead of regular coconut milk?
No, use caution due to the high sugar content. Adding this sweetened product to standard baking recipes risks making your final product overly sweet or causing scorching; it works best as a glaze or in recipes specifically designed for it, like a topping for our Cake in a recipe.
Homemade Cream Of Coconut

Ingredients:
Instructions:
Nutrition Facts:
| Calories | 172 kcal |
|---|---|
| Protein | 0.8 g |
| Fat | 7.9 g |
| Carbs | 26.2 g |
| Fiber | 0.2 g |
| Sugar | 25.2 g |
| Sodium | 33 mg |
