Velvety Chocolate Syrup from Scratch
- Time: Active 2 minutes, Passive 8 minutes, Total 10 minutes
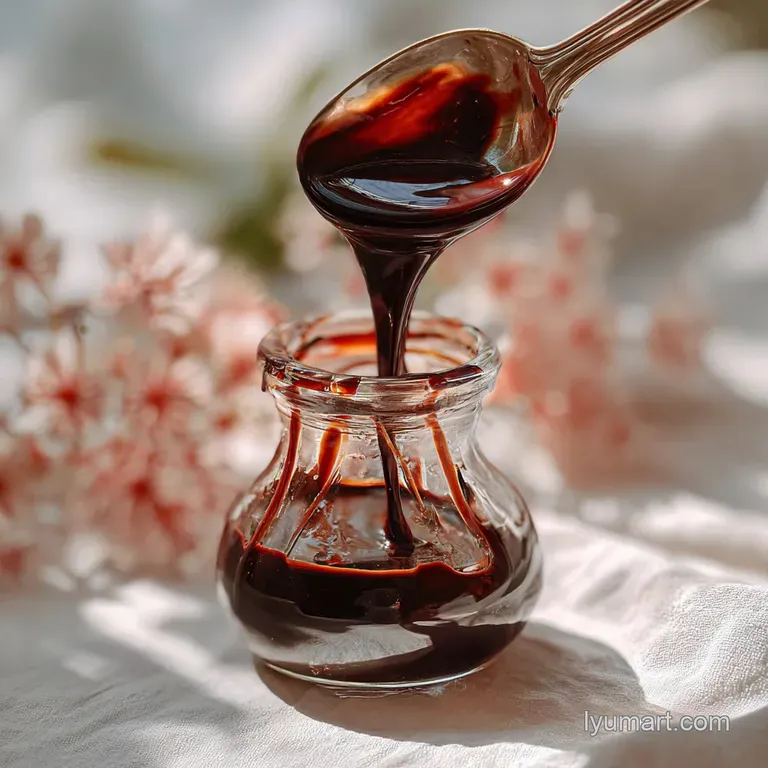
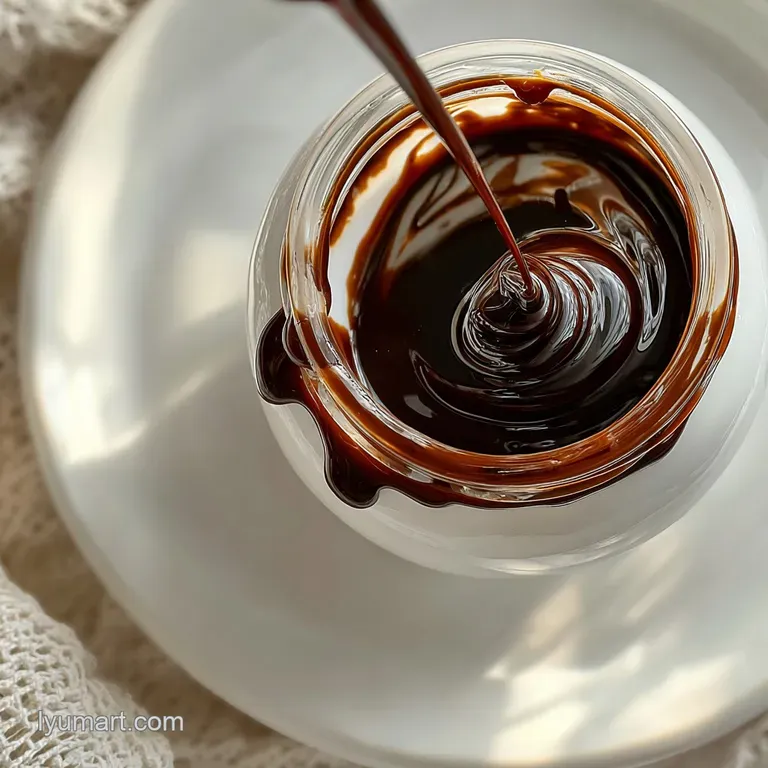
- Flavor/Texture Hook: Deeply fudgy with a glossy, glass like finish
- Perfect for: Leveling up weekend sundaes or gifting in pretty jars
- Create the Most Luxurious Homemade Chocolate Syrup
- Why This Simmering Method Creates Pure Magic
- Component Analysis for a Truly Stunning Finish
- Selecting the Pure Elements and Smart Swaps
- Essential Tools for Creating Silky Smoothness
- From Initial Simmer to the Velvet Finish
- Solving Common Glitches for Perfectly Smooth Results
- Adapting This Decadent Sauce For Every Lifestyle
- Keeping Your Homemade Liquid Gold Fresh Longer
- Stunning Ways to Serve Your Chocolate Creation
- Recipe FAQs
- 📝 Recipe Card
Create the Most Luxurious Homemade Chocolate Syrup
The first time I realized you could make this at home, I was standing in my kitchen at 9:00 PM with a massive craving for a mocha and a very empty bottle of the store-bought stuff.
I remember the smell vividly as soon as that cocoa hit the hot water, it wasn't just sweet, it was deep, dark, and actually smelled like a real chocolate bar. I never looked back after that night.
What you're getting here is a sauce that actually behaves. It doesn't just sink to the bottom of the glass in a sad, sugary heap. It’s glossy, it's thick, and it has that slight saltiness that makes your tongue tingle. Honestly, the way it coats the back of a spoon is almost hypnotic.
We aren't just making sugar water with a hint of brown powder. We are building a professional grade sauce that uses real cacao fats to get that signature mouthfeel. It’s quick, it’s foolproof, and you probably have everything you need in the cupboard right now.
Let’s get that stove turned on and make something beautiful.
Why This Simmering Method Creates Pure Magic
The Physics of the Glossy Emulsion: Dutch process cocoa is neutralized to dissolve easily, while the fats in the chopped chocolate bar bridge the gap between water and sugar. This creates a stable suspension that doesn't separate or turn grainy even when chilled in the fridge.
- Fat Stabilization: The cocoa butter in the 2 oz semi sweet bar acts as a natural emulsifier, giving the syrup a heavy, luxurious body.
- Sugar Saturation: Cooking the granulated sugar into a simple syrup base first ensures every crystal is fully dissolved before the chocolate is added.
- Flavor Blooming: Heat releases the volatile compounds in the cocoa powder, making the "chocolatey" taste much more intense than cold mixed versions.
- Salt Amplification: Sea salt suppresses the bitterness of the cacao while making the sweetness feel more rounded and less cloying.
| Method | Time | Texture | Best For |
|---|---|---|---|
| Stovetop Simmer | 8 minutes | Thick and velvety | Sundaes and professional plating |
| Microwave Blast | 3 minutes | Thin and pourable | Quick chocolate milk or coffee |
| Cold Whisking | 5 minutes | Grainy and light | Emergency use only (not recommended) |
If you are looking for more ways to use your cocoa stash, this syrup is a fantastic drizzle over my Banana Chocolate Chip recipe. The way the warm sauce soaks into the muffin top is absolute heaven.
Component Analysis for a Truly Stunning Finish
Selecting your ingredients is where the magic really happens. While you can use whatever is in the pantry, choosing a high-quality cocoa powder makes a world of difference in the final shine.
| Ingredient | Science Role | Pro Secret |
|---|---|---|
| Dutch Cocoa | Provides deep color and easy solubility | Whisk with sugar first to prevent lumps |
| Chocolate Bar | Adds real cacao butter for mouthfeel | Finely chop for a 15 second melt |
| Fine Sea Salt | Sharpens the chocolate notes | Use sea salt over table salt for a cleaner finish |
Using a real chocolate bar instead of just powder is my favorite "home cook" trick. It adds a level of richness that cocoa powder alone just can't achieve. If you've ever wondered why cafe mochas taste so much better, this is the reason.
Selecting the Pure Elements and Smart Swaps
You'll need exactly 1 cup Filtered water and 1 cup Granulated white sugar to form the base. The sugar provides the structure and the "cling" factor that makes the syrup stick to your ice cream.
- 0.5 cup Dutch process cocoa powder: Why this? It's less acidic than natural cocoa, resulting in a darker, smoother syrup.
- Substitute: Natural cocoa powder (like Hershey's). Note: The syrup will be slightly lighter in color and tangier.
- 2 oz Semi sweet chocolate bar: Why this? Adds essential fats for a velvety, professional texture.
- Substitute: Semi sweet chocolate chips. Note: Chips contain stabilizers that may make the syrup slightly thicker.
- 1 tsp Pure vanilla extract: Why this? Acts as a background aromatic that makes the chocolate taste "expensive."
- Substitute: Vanilla bean paste for those beautiful black specks.
- 0.25 tsp Fine sea salt: Why this? Balances the sugar and cuts through the richness of the cacao.
- Substitute: Kosher salt. Note: Double the amount if the grains are very large.
Essential Tools for Creating Silky Smoothness
You don't need a lab full of equipment to make this, but a few specific tools will ensure you don't end up with a lumpy mess. A heavy bottomed saucepan is your best friend here because it distributes heat evenly, preventing the sugar from scorching at the edges.
A fine mesh whisk is also non negotiable. You want to be able to reach the "corners" of your pan to ensure no cocoa powder gets trapped and burnt. For storage, I always recommend a glass jar or a squeeze bottle.
Glass is better for long term freshness, but a squeeze bottle (like those used for condiments) gives you that restaurant style control over your zig zags and swirls.
From Initial Simmer to the Velvet Finish
1. Whisking Dry Base
Combine the sugar and cocoa powder in your saucepan before adding any liquid. Note: This prevents the cocoa from forming "dry pockets" that are impossible to whisk out later.
2. Simmering for Viscosity
Slowly pour in the water while whisking constantly. Bring the mixture to a gentle simmer over medium heat until the liquid looks dark and glossy.
3. Emulsifying Real Chocolate
Remove the pan from the heat immediately. Stir in the finely chopped chocolate bar and salt until the pieces shatter into the liquid and disappear.
4. Cooling Final Texture
Whisk in the vanilla extract last to preserve its delicate aroma. Let the syrup sit in the pan for 10 minutes until it thickens enough to coat a spoon.
Chef's Tip: If you want a "darker" flavor profile, add a pinch of espresso powder during step 1. It won't taste like coffee, but it will make the chocolate taste twice as intense.
For a fun weekend project, try serving this sauce alongside my Peanut Butter Balls recipe. You can use the syrup as a dipping sauce for an extra hit of decadence.
Solving Common Glitches for Perfectly Smooth Results
Why Your Sauce Is Grainy
If your syrup feels gritty on the tongue, the sugar didn't fully dissolve or it started to re crystallize. This usually happens if you boil it too vigorously without enough stirring.
| Problem | Root Cause | Solution |
|---|---|---|
| Gritty Texture | Undissolved sugar | Return to low heat and add 1 tsp water; stir until smooth |
| Sauce Too Thin | Not simmered long enough | Simmer for 2 extra minutes to evaporate more water |
| Seized Chocolate | Water was too hot when adding bar | Whisk in 1 tsp of warm milk to smooth it out |
Common Mistakes Checklist
- ✓ Always whisk the dry cocoa and sugar together first to avoid lumps.
- ✓ Never let the mixture reach a rolling, violent boil; a gentle simmer is all you need.
- ✓ Chop the chocolate bar into very fine shards so it melts instantly without extra heat.
- ✓ Wait until the pan is off the heat before adding the vanilla to keep the flavor bright.
- ✓ Don't skip the salt - it's the difference between "sugary" and "gourmet."
Adapting This Decadent Sauce For Every Lifestyle
Mastering sugar-free Version
If you're watching your sugar intake, you can swap the granulated sugar for a 1:1 monk fruit sweetener. Keep in mind that sugar-free versions tend to crystallize faster in the fridge, so you might need to give the jar a warm water bath before using it.
Use a sugar-free chocolate bar (like Lily's) for the 2 oz portion to keep the carbs low.
Creating Vegan Decadence
This recipe is naturally vegan as long as your 2 oz chocolate bar is dairy-free! Most high-quality semi sweet or dark chocolate bars (70% cacao or higher) don't contain milk solids. Just double check the label to be sure. It works beautifully with almond milk for a quick morning latte.
Keeping Your Homemade Liquid Gold Fresh Longer
Storage: Once completely cool, pour the syrup into a clean glass jar and seal it tightly. It will stay fresh in the refrigerator for up to 3 weeks. If it becomes too thick to pour after being chilled, simply set the jar in a bowl of warm water for a few minutes to loosen it up.
Freezing: You can actually freeze this! Pour it into an airtight container, leaving an inch of headspace for expansion. It will last for 3 months. Thaw it overnight in the fridge and give it a vigorous shake before using.
Zero Waste: Don't rinse the pot immediately after pouring the syrup into your jar. Instead, pour a cup of hot milk directly into the "dirty" pot and whisk. You'll get a perfect cup of hot chocolate and a much easier pan to clean.
Stunning Ways to Serve Your Chocolate Creation
| Level | Tweak | Vibe |
|---|---|---|
| Simple | Drizzled loosely from a spoon | Classic Home Style |
| Polished | Concentric circles using a squeeze bottle | Modern Cafe |
| Restaurant | A bold "swipe" across the plate with a brush | High End Bistro |
Enhancing the Morning Brew
Add two tablespoons of the syrup to the bottom of your mug before pouring in hot coffee. The heat from the coffee will bloom the cocoa aromatics, creating a mocha that rivals any professional coffee shop.
Topping the Ultimate Sundae
For the best results, warm the syrup slightly before pouring it over cold vanilla bean ice cream. The temperature contrast between the warm, velvety sauce and the freezing ice cream creates a "shatter" effect that is incredibly satisfying to eat.
Scaling the Recipe
If you are hosting a large party, you can easily double this recipe. Just remember to keep the spices (salt and vanilla) to about 1.5x the original amount so they don't overpower the chocolate. When scaling down to a half batch, use a very small saucepan to prevent the liquid from evaporating too quickly and burning.

Recipe FAQs
Is there actual chocolate in homemade chocolate syrup?
Yes, absolutely. This recipe uses real semi sweet chocolate bars in addition to cocoa powder for authentic flavor and richness. The chocolate bar provides necessary cocoa butter, which gives the syrup its glossy, velvety texture that powder alone cannot replicate.
Can I use chocolate syrup instead of melted chocolate in baking?
No, substituting is not recommended. Chocolate syrup is mostly water and sugar, while baking calls for the cocoa butter solids found in melted chocolate. Using syrup will drastically change the moisture and fat balance of your batter, leading to poor structure.
Is Yoo Hoo just water and chocolate syrup?
No, that is a common oversimplification. While the base involves chocolate flavoring and water, commercial drinks like Yoo Hoo contain stabilizers, thickeners, and often milk solids or whey protein that homemade syrup lacks. Our homemade syrup is much richer and thicker than that thin beverage base.
How do you make chocolate syrup?
Combine sugar, cocoa powder, and water in a saucepan. Bring the mixture to a gentle simmer while whisking constantly until fully dissolved and glossy. Remove from heat, stir in chopped chocolate and salt until melted, then finish with vanilla extract.
Why is my homemade syrup gritty after cooling?
False. Grittiness indicates undissolved sugar. If your syrup feels sandy, the sugar crystals did not fully dissolve, or the mixture began to re-crystallize upon cooling. You can usually fix this by reheating the syrup very gently over low heat with one teaspoon of added water, stirring until smooth.
What is the best way to thin syrup that thickened too much in the fridge?
Place the sealed jar into a bowl of warm (not hot) water. Gently swirl the jar every minute until the desired pourable consistency returns. This warming technique helps the fats soften without overheating the syrup, preserving the flavor beautifully.
Can I use this syrup in a cold drink, like a smoothie?
Yes, but you should thin it first, similar to preparing a frozen base. If you want a smooth integration into a frozen beverage, thin the refrigerated syrup with a splash of hot water or milk before blending. If you skip this step, the high sugar content might make your blender work too hard, much like trying to blend rock hard ice in a Frozen Margarita Recipe.
Velvety Chocolate Syrup Recipe

Ingredients:
Instructions:
Nutrition Facts:
| Calories | 97 kcal |
|---|---|
| Protein | 1.0 g |
| Fat | 1.9 g |
| Carbs | 21.7 g |
| Fiber | 1.6 g |
| Sugar | 19.4 g |
| Sodium | 48 mg |
