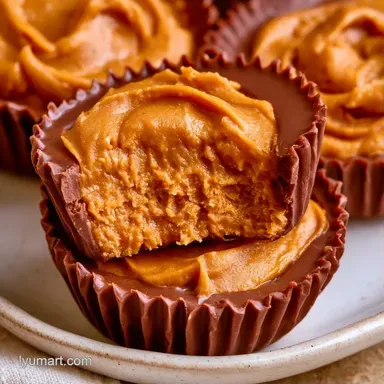
Pumpkin Reeses Peanut Butter Cups with Coconut Oil
- Time: 15 min active + 1 hour 10 mins chilling
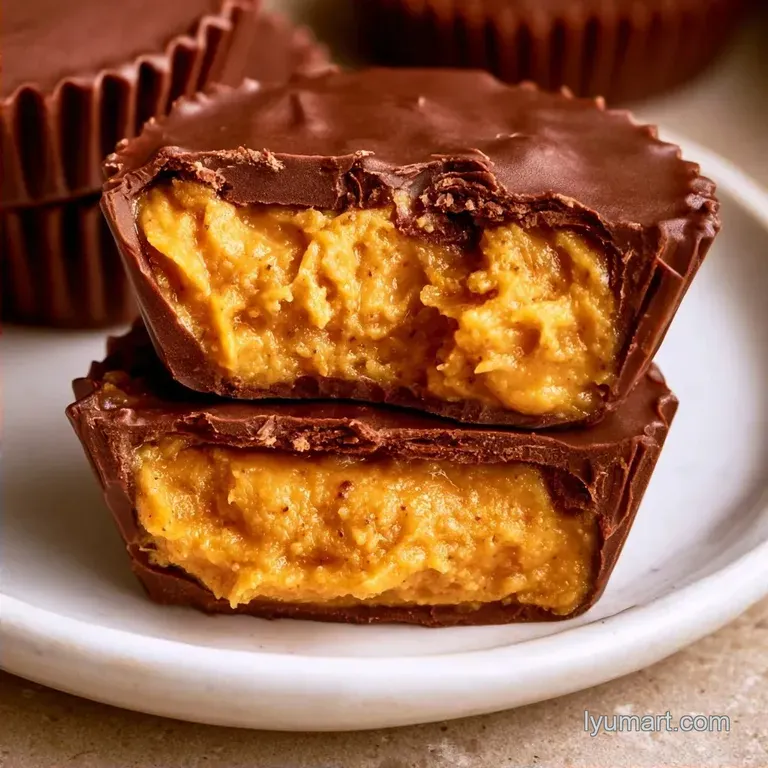
- Flavor/Texture Hook: Snappy chocolate shell with a velvety spiced center
- Perfect for: Fall parties, gift boxes, or a cozy October snack
Pumpkin Reeses Peanut Butter Cups
The scents of cinnamon and roasted peanuts always remind me of childhood autumn festivals. There is a cozy, comforting quality to that fragrance. In many households, these flavors represent a seasonal tradition, marrying the nostalgia of peanut butter sweets with the cozy atmosphere of a pumpkin patch.
I still remember my first experiment incorporating pumpkin puree into a confectionery filling. I worried the moisture would leave the center too soft, but the thick peanut butter serves as an excellent stabilizer.
This produces a dense, fudge-like interior that maintains its form without soaking into the outer chocolate.
You'll find a treat that balances every flavor: the sharp snap of semi-sweet chocolate, the savory saltiness of peanut butter, and the mellow sweetness of pumpkin. This recipe focuses on harmony, creating something sophisticated enough for a party yet simple enough for a Tuesday evening.
Quick Recipe Details
Right then, let's look at the basics. These are no bake, which means we're skipping the oven and relying on the fridge to do the heavy lifting. If you're planning this for a crowd, just keep in mind that the chilling time is non negotiable.
For those who like to plan, this is a great make-ahead dessert. You can whip them up a day before your event and keep them chilled. Trust me on this, the flavors actually meld better after a few hours in the fridge.
| Method | Time | Texture | Best For |
|---|---|---|---|
| Microwave | 10 mins | Snappy | Speed and ease |
| Double Boiler | 20 mins | Glossy | Precision and control |
The Truth About Texture
I've looked into why some homemade candies end up grainy while others remain silky. The secret usually lies in how you manage the moisture and fats.
The Coconut Oil: This stops the chocolate from getting too brittle, ensuring a smooth shell that won't shatter when you take a bite.
The Puree Ratio: By limiting the pumpkin puree to a quarter cup, we prevent adding excess water. This keeps the filling dense and prevents it from becoming a pumpkin mousse.
To fully embrace those autumn notes, I suggest using a pumpkin pie spice recipe to achieve that specific balance of ginger and cloves.
Essential Ingredient List
Keep your ingredients at room temperature before you start, especially the peanut butter. It makes stirring much easier and prevents the chocolate from cooling too quickly.
| Ingredient | What It Does | Best Swap |
|---|---|---|
| Semi sweet chocolate chips | Creates the outer shell | Dark chocolate (for less sugar) |
| Coconut oil | Smooths the chocolate | Cocoa butter |
| Creamy peanut butter | Provides structure and salt | Almond butter |
| Pumpkin puree | Adds autumn flavor and color | Roasted butternut squash puree |
| Maple syrup | Sweetens the filling | Honey or agave |
| Pumpkin pie spice | Adds warmth and aroma | Cinnamon and nutmeg |
| Salt | Balances the sweetness | Fine sea salt |
Tools for the Job
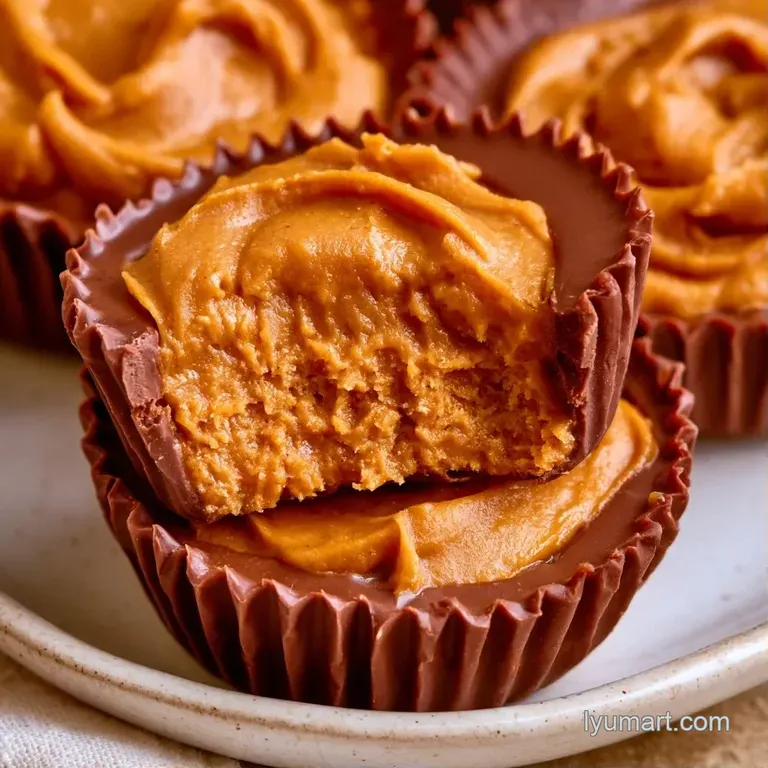
You don't need professional equipment to make these, though a couple of items make the process easier. I recommend a silicone mold since it ensures the treats release easily without sticking.
A parchment-lined mini muffin tin works well if you don't have a mold. Just peel the paper away gently to avoid cracking the chocolate.
Pro Tip: Stick to a glass bowl when using a microwave. Plastic can warp or create hot spots that might burn your chocolate.
Step by step Process
Now, we can begin the assembly. It is important to be patient during the chilling stages.
Phase 1: Casting the Shells
- Place 12 oz chocolate chips and 2 tbsp coconut oil together in a microwave-safe bowl.
- Heat in 30-second intervals, stirring in between, until the mixture is smooth and glossy. Note: Stirring prevents the chocolate from scorching.
- Spoon approximately 1 tablespoon of chocolate into each mold cavity.
- Use the back of the spoon to spread the chocolate up the sides of the mold.
- Set the molds in the freezer for 10-15 minutes until the chocolate feels firm to the touch.
Phase 2: Whipping the Pumpkin Filling
- In a small bowl, stir together 1/2 cup creamy peanut butter and 1/4 cup pumpkin puree until the mixture is a uniform orange color.
- Fold in 2 tbsp maple syrup, 1/2 tsp pumpkin pie spice, and 1/4 tsp salt.
- Mix until the filling becomes thick and holds its shape when scooped.
Phase 3: Assembly and Setting
- Take the chilled chocolate shells out of the freezer.
- Place 2 teaspoons of the pumpkin filling into the center of each shell, pressing it down slightly.
- Seal the top with a final layer of melted chocolate, smoothing it across the surface.
- Refrigerate for 45 minutes until the centers are fully set.
Fixing Common Issues
Even for an experienced home cook, chocolate can be finicky. Most issues can be fixed with a few simple adjustments.
Fixing Seized Chocolate
If your chocolate looks grainy or clumps up, it has likely "seized." This usually happens if a tiny bit of water gets into the bowl. Serious Eats' testing shows that using completely dry tools is the best way to prevent this.
If it happens, you can sometimes save it by stirring in a tiny bit more coconut oil or warm cream.
Correcting Runny Filling
If the filling is too soft to hold its shape, you likely have a "wet" pumpkin puree. To fix this, stir in an extra tablespoon of peanut butter or a teaspoon of coconut flour. This will soak up the excess moisture and firm up the center.
Stopping Mold Stickiness
If the treats won't pop out, don't panic. Gently press a warm cloth against the bottom of the mold for 5 seconds. This slightly softens the outer edge of the chocolate, allowing the treat to slide out without breaking.
New Flavor Ideas
After you've mastered the basic recipe, feel free to experiment with the ingredients. I love tweaking the filling to change the overall vibe.
For a lighter alternative, try substituting some of the peanut butter with a cashew butter blend. If you prefer a dairy-free option, a homemade almond milk reduction can add creaminess to the pumpkin mix without the need for heavy fats.
- For a firmer set
- chill the filling in the fridge for 10 minutes before scooping.
- For a deeper chocolate flavor
- use 70% cocoa dark chocolate chips.
- For more spice
- double the pumpkin pie spice and add a pinch of cayenne.
Storing Your Treats
It's best to keep these treats chilled. Due to the pumpkin puree, they have a shorter shelf life than traditional peanut butter cups.
Arrange them in a single layer within a container, placing parchment paper between the rows. They will keep in the refrigerator for 7 days. For longer storage, the freezer is your best option; they last about 2 months there and can be eaten cold or let soften for 5 minutes.
To prevent waste, don't toss any remaining pumpkin filling. Instead, stir it into your morning oatmeal or use it as a dip for apple slices.
Pairing Your Dessert
Since these are quite rich, they pair well with something that cuts through the sweetness. A hot cup of black coffee or a tart cider is the way to go.
If you're putting together an autumn grazing board, place these alongside some crisp apple slices, dried cranberries, and a few pieces of sharp cheddar cheese. The saltiness of the cheese complements the pumpkin and chocolate beautifully.
| Original Ingredient | Substitute | Why It Works |
|---|---|---|
| Maple Syrup (2 tbsp) | Honey (2 tbsp) | Similar sweetness. Note: Honey has a stronger floral taste |
| Pumpkin Puree (1/4 cup) | Sweet Potato Puree (1/4 cup) | Similar texture. Note: Less "autumn" flavor |
| Coconut Oil (2 tbsp) | Unsalted Butter (2 tbsp) | Similar fat content. Note: Adds a dairy richness |
Recipe FAQs
How many calories are in two pumpkin peanut butter cups?
Approximately 358 calories. A single cup contains 179 kcal, so two servings double that amount.
How to make the chocolate shells firm quickly?
Place the molds in the freezer for 10–15 minutes. Ensure the chocolate is firm to the touch before adding the pumpkin filling.
Is it true that you can use actual pumpkin for bread?
This one's false: Using raw pumpkin adds too much moisture; you must use roasted and pureed pumpkin for the correct bread texture.
What can I do with leftover pumpkin puree instead of pie?
Stir it into morning oatmeal or use it as a fruit dip. These are quick ways to use the filling without baking a full dessert.
How to achieve a smooth chocolate finish?
Microwave in 30-second bursts and stir frequently. This prevents the chocolate chips and coconut oil from overheating or seizing.
Can I use the filling for other treats?
Yes, it works great as a frosting or dip. If you enjoyed balancing these autumn flavors, try applying the same sweet-tart logic in a sour cherry pie.
Why is my filling too runny to scoop?
Check your puree consistency. Ensure you mix the peanut butter and pumpkin puree until the filling is thick, smooth, and holds its shape.
Silky Pumpkin Reeses Peanut Butter Cups