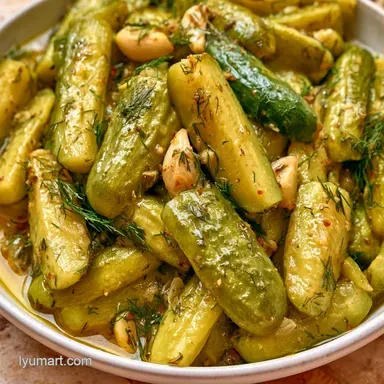
Crunchy Refrigerator Dill Pickles
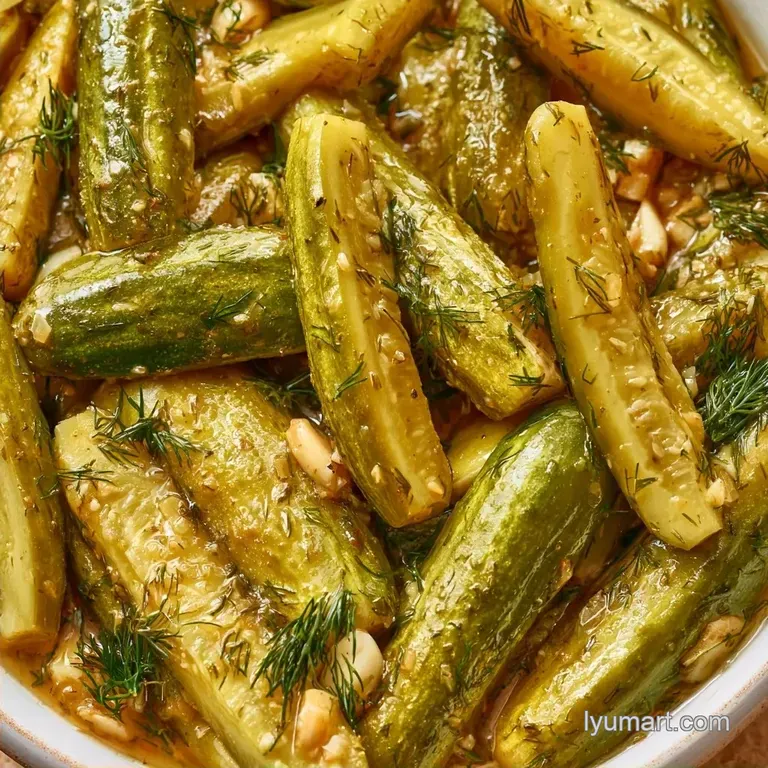
- Preparation: 25 min active + 24 hours chilling
- Key Appeal: A zesty vinegar zip and a hearty, fresh crunch
- Great for: Quick meal prep, sandwich toppings, or a briny snack
Dill Pickles
The pungent aroma of vinegar greets you the moment you open the jar. Despite any worries that they might turn soft, every bite delivers a sharp, audible crunch. It provides that signature deli taste without requiring any specialized tools.
You don't need a complex setup to achieve a great result. By using a No Canner Dill Pickles method, we let the refrigerator handle the preservation. It's a straightforward process that is consistently rewarding.
This Quick Dill Pickle Recipe is designed for ease. After roughly 25 minutes of prep work, let them chill in the fridge for a day. When you finally open the jar, these Dill Pickles will be wonderfully tangy and crisp.
Why This Version Works
Making a great batch depends on a few simple rules. Here is what keeps the texture right:
- The Salt Ratio: Salt draws water out of the cucumber. This makes room for the vinegar to seep in without turning the veg into mush.
- Cold Brining: Since we aren't heating the cucumbers in a canner, the cell walls stay rigid. This is why Refrigerator Dill Pickles always feel crunchier than shelf stable ones.
| Goal | What to change |
|---|---|
| Extra Tangy | Increase vinegar by 1/4 cup |
| Milder Taste | Add 1 tsp extra sugar |
| Spicier | Add 1 sliced jalapeño |
The Right Ingredients
The choice of cucumber is critical here. I always opt for Kirbys since they are firmer and have more delicate skins. If you use a typical slicing cucumber, the results will likely be too watery.
Your garlic should be smashed, not minced. Smashing the cloves allows the oils to seep out slowly, resulting in a mellow, savory base rather than a sharp, raw edge. Fresh dill is non-negotiable; dried dill simply lacks that vibrant, grassy scent.
If you need a faster alternative, you might enjoy this Pickles in 25 Minutes recipe to reduce the wait. But for that authentic, classic taste, the 24-hour cure is the way to go.
Tool List
Gather a few basic tools. Two 32oz mason jars are the preferred choice, though any glass jar with a secure lid will work. You'll also need a sharp chef's knife for the spears and a whisk for the brine.
I recommend using filtered water, as the chlorine or minerals found in tap water can occasionally cloud the brine or affect the flavor. A large bowl or a pitcher is useful for mixing the salt and sugar before pouring.
Ingredients & Substitutes
- 2 lbs (900g) Kirby or Persian cucumbers Why this? Keeps them crunchy and firm (Substitute: Persian cucumbers for a thinner skin)
- 2 cups (480ml) white distilled vinegar Why this? High acidity for preservation (Substitute: Apple cider vinegar for a milder, fruitier tang)
- 2 cups (480ml) filtered water Why this? Ensures a pure taste without chlorine (Substitute: Distilled water)
- 2 tbsp (36g) pickling salt Why this? Keeps the brine clear and additive free (Substitute: Kosher salt)
- 1 tbsp (12g) granulated sugar Why this? Cuts through the acidity (Substitute: Honey or maple syrup)
- 8 cloves (40g) garlic, smashed Why this? Provides a bold, savory foundation (Substitute: Garlic powder, though less punchy)
- 4 sprigs (12g) fresh dill, stems included Why this? Gives that classic herby profile (Substitute: Dill seed, but use much less)
- 2 tsp (6g) whole black peppercorns Why this? Adds a hint of earthy spice (Substitute: White peppercorns)
- 1 tsp (2g) mustard seeds Why this? Contributes a subtle nutty pop (Substitute: Ground mustard)
- 1 medium (110g) white onion, thinly sliced Why this? Provides crunch and natural sweetness (Substitute: Red onion for color)
| Original Ingredient | Substitute | Why It Works |
|---|---|---|
| White Vinegar | Apple Cider Vinegar | Lower acidity. Note: Changes color to a slight gold |
| Pickling Salt | Kosher Salt | Pure salt crystals. Note: Avoid iodized salt to prevent cloudiness |
| Fresh Dill | Dill Seed | Concentrated flavor. Note: Use only 1 tsp as it's much stronger |
Making Your Batch
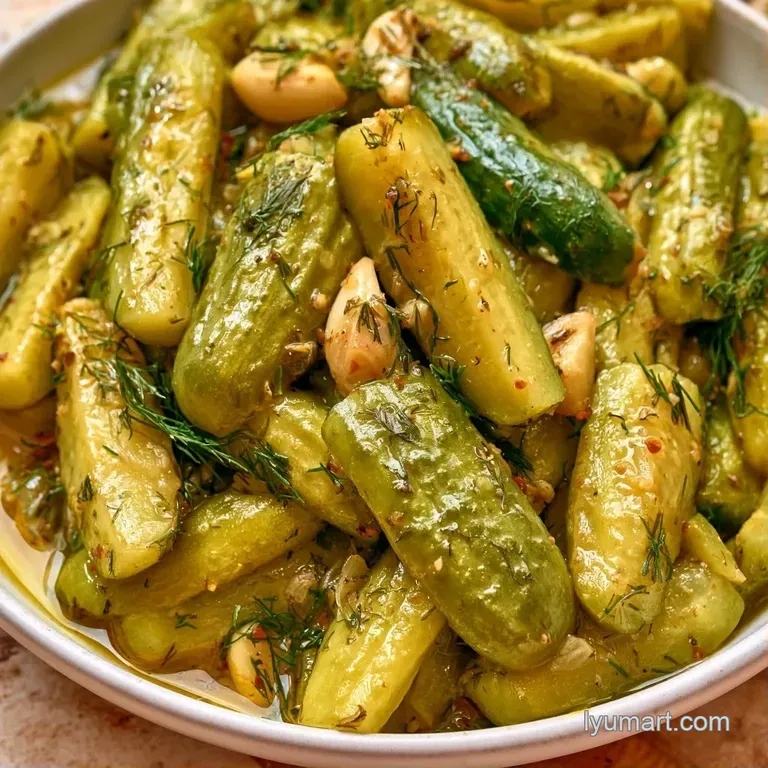
Let's start with the preparation. Ensure your jars are clean and dry before beginning.
- Wash the cucumbers and trim off the blossom end. Note: This stops enzymes from making the pickles soft. Cut them into 1/2 inch rounds or long spears.
- Peel the garlic cloves and crush them using the flat side of your knife. Apply pressure until the cloves split to release the natural oils.
- Divide the crushed garlic, fresh dill, peppercorns, and mustard seeds equally between two 32oz glass mason jars.
- Firmly pack the cucumber spears and sliced onions into the jars. Press down lightly until the vegetables are snug but not crushed.
- Combine the water, white distilled vinegar, pickling salt, and sugar in a jug. Whisk until the salt crystals have fully dissolved.
- Pour the brine over the cucumbers, leaving a 1/2 inch gap at the top.
- Secure the lids tightly.
- Keep the jars in the fridge for 24 hours. Wait for the brine to turn a light yellow green before eating.
Solving Common Issues
Even with a simple Dill Pickle Recipe No Canning, things can go sideways. Most issues come down to the cucumber or the salt.
If your pickles come out soft, it's usually because the blossom end wasn't trimmed or the cucumbers were too old. The blossom end contains an enzyme that breaks down pectin, which is what keeps the vegetable crisp.
Cloudy brine is another common worry. This usually happens if you use iodized table salt instead of pickling salt. The iodine reacts with the vinegar and creates a haze, but it doesn't actually affect the taste of the Dill Pickles.
If the vinegar taste is too overpowering, you can dilute the brine slightly with a bit more water, though this should be done before the 24 hour mark. For a more balanced profile, you can try Kosher Dill Pickles which often have a different salt balance.
Dealing with Softness
This happens when cell walls collapse. Trimming the blossom end is the best fix.
Fixing Cloudy Brine
This is a salt issue. Use pure pickling or Kosher salt next time.
Managing Overpowering Sourness
Too much vinegar can drown the dill. Add a pinch more sugar to the jar.
| Problem | Fix |
|---|---|
| Mushy texture | Trim blossom end; use colder water |
| Cloudy liquid | Use pickling salt instead of table salt |
| Bland flavor | Increase garlic or let sit for 48 hours |
Customizing Your Jar
Once you're comfortable with Homemade Dill Pickles No Canning, you can start messing with the flavors. I love adding a few sliced jalapeños or a pinch of red pepper flakes if I want a bit of heat.
For a "Bread and Butter" vibe, you can increase the sugar significantly and swap the dill for celery seed and turmeric. This turns the savory snap into something sweet and tangy.
If you want something different, try adding a grape leaf or a black tea bag to the jar. The tannins in the leaves help the Dill Pickles stay crunchy for a longer time in the fridge. This is a great trick for Easy No Canning Dill Pickles that you plan to keep for a month.
Keeping Them Fresh
Keep these Easy Garlic Dill Pickles refrigerated. They maintain their crunch and tang for roughly 4 to 6 weeks. Just ensure the cucumbers remain completely covered by the brine; any pieces floating to the surface may soften or grow mold.
Instead of pouring the leftover brine down the drain, put it to use. Since it is essentially seasoned vinegar, it makes an excellent marinade for chicken for 2 hours prior to grilling, or you can stir a splash into potato salad for an immediate flavor upgrade.
If you prefer a shelf stable option, consider Canner Dill Pickles. Using a boiling water bath enables pantry storage for a year, but the fridge method is typically enough for most people. Unlike canning, which requires a specific pot and lids, this version only needs a cold shelf.
Serving Your Batch
Dill Pickles are the unsung heroes of a sandwich. I love slicing them thin and layering them on a classic Reuben or a turkey club. The acidity cuts through the fat of the meat and cheese beautifully.
They also make a great side for a burger platter. Slice them into spears and serve them alongside some potato chips and a dip. The cold, sharp snap of the Dill Pickles cleanses the palate between bites of rich food.
For a snack, just eat them straight from the jar. Trust me, there is nothing more satisfying than a cold, garlicky pickle in the middle of a lazy afternoon. These Dill Pickles bring that professional deli quality right to your kitchen.
When you've finished your first batch, you'll probably find yourself making these Dill Pickles every few weeks. It's a habit that's hard to break once you realize how much better they are than the store-bought ones. These Dill Pickles are just honest, crunchy, and satisfying.
High in Sodium
875 mg 875 mg of sodium per serving (38% 38% of daily value)
The American Heart Association recommends a daily limit of no more than 2,300 mg of sodium to maintain heart health and lower blood pressure.
Tips to Reduce Sodium
-
Cut Pickling Salt-25%
Reduce the amount of pickling salt by half or use a potassium based salt substitute to significantly lower the sodium content.
-
Enhance Acidity-10%
Increase the ratio of white distilled vinegar or add a squeeze of lemon juice to provide a sharp, tangy flavor that compensates for less salt.
-
Boost Aromatics-5%
Increase the quantity of garlic and white onion to create a more robust flavor profile, reducing the reliance on salt for taste.
-
Fresh Herb Infusion
Use extra fresh dill or add fresh parsley to enhance the aromatic quality and freshness of the pickles without adding sodium.
Recipe FAQs
How to make these dill pickles?
Rinse the cucumbers and slice off the blossom end. Pack them into jars with garlic, dill, and spices before pouring over a room temperature brine.
What kind of water is best for brine?
Filtered water is the ideal choice. It prevents impurities from affecting the flavor or the clarity of the liquid.
Can I skip heating the pickling juice?
Yes, you can simply whisk the water, vinegar, salt, and sugar together until dissolved. This cold brining method keeps the cucumbers crunchier.
Would adding sugar make these sweet?
Adding extra sugar will create a milder, sweeter flavor. For a fully developed sweet style, try these bread and butter pickles.
Is it true that glass jars explode from boiling water?
Actually, no. Mason jars are designed to withstand high temperatures as long as you avoid pouring boiling liquid into a freezing cold jar.
Do I really need to boil jars for refrigerator pickles?
Surprisingly, no. A thorough wash with hot, soapy water is sufficient since these are stored in the cold.
Where should I cut the cucumber to keep it crisp?
Slice off the blossom end first. This part contains enzymes that can make the rest of the pickle soften.