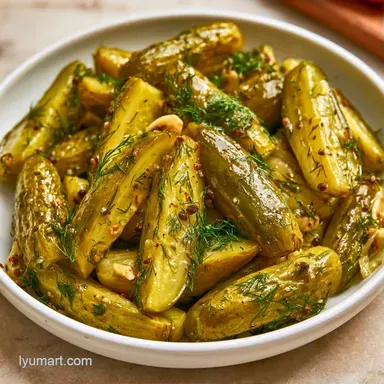
Old Fashioned Water Bath Dill Pickles: Crunchy
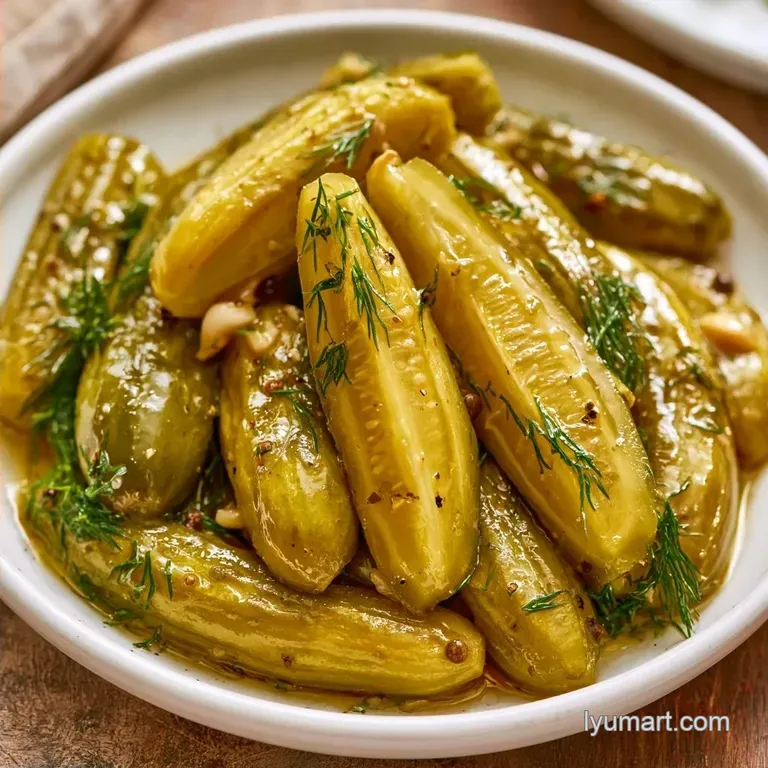
- Time: 30 min active + 25 hours 10 mins curing/processing
- Flavor/Texture Hook: Briny, garlic forward, and a shattering snap
- Perfect for: Pantry stocking, summer BBQ sides, or beginner canning
- Classic Water Bath Dill Pickles
- What Keeps Them Crunchy
- Essential Ingredients for the Brine
- Tools for the Job
- The Step by Step Process
- Fixing Your Pickle Problems
- Fun Flavor Twists
- Adjusting the Batch Size
- Save and Store Your Jars
- How to Enjoy Your Batch
- Why You'll Love This Recipe
- Critical Sodium Level
- Recipe FAQs
- 📝 Recipe Card
Classic Water Bath Dill Pickles
Hearing the pop of a vacuum sealed jar is the highlight of canning season. The aroma of pungent vinegar and fresh dill transforms the kitchen into a workshop of flavors, and it's incredibly rewarding to look at those rows of vibrant green spears lined up in the pantry.
You can achieve professional results without expensive gear. The goal is a simple, comforting staple with that classic deli taste. These Dill Pickles provide a zesty contrast that perfectly balances rich meats and cheeses.
By following a traditional method, we prioritize texture. Expect a satisfying crunch and a bold, salty brine. This recipe for Dill Pickles is perfect for anyone looking to fill their cupboards with tasty snacks on a budget.
What Keeps Them Crunchy
Grape Leaves: The tannins in the leaves stop enzymes from breaking down the cucumber's pectin. Vinegar Ratio: A 5% acidity level keeps the pH low, which prevents spoilage and maintains the snap.
The trick is removing the blossom end of the cucumber. That tiny slice removes enzymes that would otherwise turn your pickles into mush.
| Method | Time | Texture | Best For |
|---|---|---|---|
| Fridge Cold Pack | 24 hours | Very Crisp | Immediate eating |
| Water Bath | 25 hours | Classic Snap | Long term storage |
Essential Ingredients for the Brine
| Component | Purpose | Substitute Notes |
|---|---|---|
| Kirby Cucumbers | Firm texture | Persian cucumbers work but are softer |
| Pickling Salt | Clear brine | Kosher salt works; avoid table salt (cloudy) |
| Grape Leaves | Maintain crunch | Bay leaves; slightly different earthy note |
| White Vinegar | Preservation | Apple cider vinegar; makes brine cloudy/sweeter |
To make these Dill Pickles, you'll need:
- 5 lbs Kirby Cucumbers Why this? Thicker skin and firmer flesh for canning
- 1 cup fresh dill sprigs Why this? Fresh provides a brighter, more herbal punch
- 16 garlic cloves Why this? Smashed cloves release more oils into the brine
- 2 tbsp mustard seeds Why this? Adds a subtle, spicy depth
- 1 tbsp black peppercorns Why this? Provides a slow, warm heat
- 8 grape leaves Why this? Natural tannins keep the veg firm
- 4 cups water
- 1.5 cups white distilled vinegar
- 1/4 cup pickling salt Why this? No anti caking agents to cloud the jars
- 1 tbsp sugar
Tools for the Job
While a professional setup isn't necessary, a few basic items make things easier. I rely on a wide mouth funnel to keep the rims clean, which is crucial for achieving a secure seal.
The most important piece of equipment is a boiling water bath canner. If you don't own one, any deep stockpot that can cover your jars with an inch of water is a great substitute. Additionally, have a plastic skewer or bubble remover tool handy to eliminate air pockets.
The step by step Process
Making Dill Pickles takes some patience, but the process is quite simple.
Phase 1: The Prep & Pack
- Wash cucumbers well and trim 1/16th of an inch from the blossom end. Note: This removes softening enzymes
- Add 2 smashed garlic cloves, a sprig of dill, a piece of grape leaf, and a pinch of mustard seeds and peppercorns to each sterilized pint jar.
- Fit the cucumber spears snugly into the jars, leaving a 1/2 inch gap at the top.
Phase 2: The Brine Boil
- Mix water, white distilled vinegar, pickling salt, and sugar in a saucepan.
- Bring the mixture to a vigorous boil over medium high heat, stirring until the salt has completely dissolved.
- Gently pour the hot liquid over the cucumbers, keeping 1/2 inch of space at the top.
Phase 3: The Processing
- Use a bubble remover tool along the inside of the jars to clear trapped air and wipe the rims.
- Center the lids and tighten the rings with your fingertips.
- Process the jars in a boiling water bath canner for 10 minutes, ensuring the water covers the tops by at least 1 inch.
- Remove the jars and let them rest undisturbed for 24 hours to seal and cure.
Fixing Your Pickle Problems
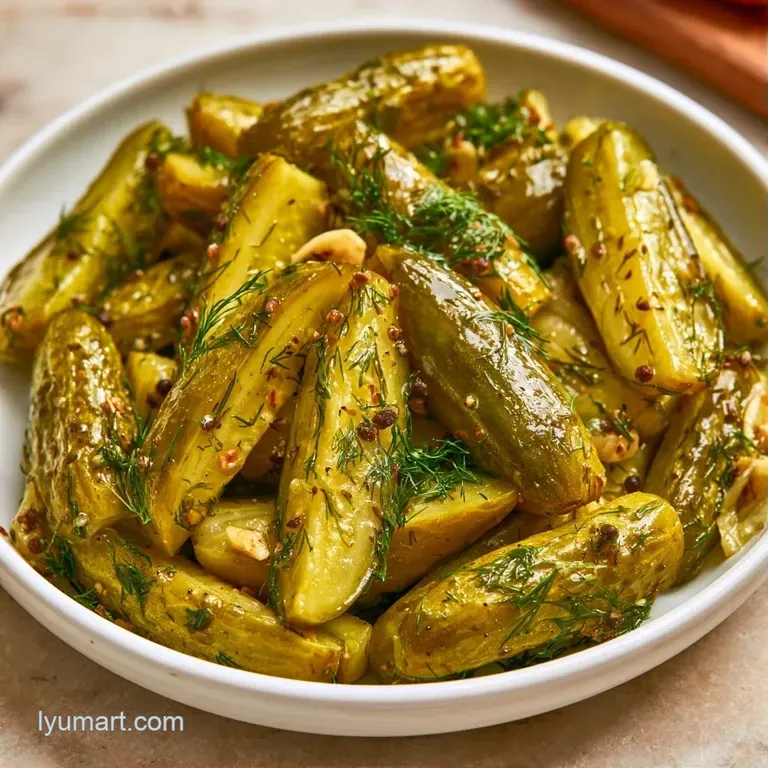
Don't worry if your results seem off; typically, salt selection or headspace is the cause. Beginners can refer to this Dill Pickles Canning Recipe for a better idea of what a proper seal looks like.
Cloudy Brine
This is often the result of using table salt. Anti caking agents in the salt react with vinegar, creating a milky appearance.
Soft Texture
This occurs if cucumbers are too warm during packing or if the blossom ends aren't removed. Overprocessing in a water bath that is too hot can also lead to this.
Lids Not Sealing
If the lids fail to seal (no "pop"), it may be due to residue on the rim or insufficient processing time.
| Problem | Fix |
|---|---|
| Cloudy liquid | Switch to Kosher or pure pickling salt |
| Mushy pickles | Remove blossom ends and incorporate grape leaves |
| Seal failure | Clean rims with vinegar prior to sealing |
Fun Flavor Twists
Feel free to adjust this recipe to suit your preferences. For a more rustic result, add extra peppercorns, similar to this Pickles with Fresh Dill recipe.
For a Spicy Kick
Add one sliced habanero or 1 tsp of red pepper flakes in every jar before pouring in the brine.
For a Sweet Dill Hybrid
Increase the sugar to 3 tbsp. This won't make them "bread and butter" pickles, but it does mellow the sharp bite of the vinegar.
For a Low Sodium Option
Cut the salt to 3 tbsp, though keep in mind that the shelf life may be slightly shorter.
Adjusting the Batch Size
Scaling Dill Pickles is simple since it's a brine based recipe.
Scaling Down (Half Batch): Use 2.5 lbs of cucumbers and halve all brine ingredients. Use 4 pint jars instead of 8. The processing time in the water bath remains 10 minutes.
Scaling Up (Double Batch): When doubling, I only increase the salt and spices to 1.5x. Too much salt can overpower the cucumbers. Work in two separate pots of brine to ensure a rolling boil is maintained.
| Original | Substitute | Why It Works |
|---|---|---|
| White Vinegar | Apple Cider Vinegar | More mellow flavor. Note: Brine will be cloudy |
| Grape Leaves | Bay Leaves | Adds herbal tannins. Note: Less "snap" than grape leaves |
| Kirby Cucumbers | English Cucumbers | Available year round. Note: Softer texture |
Common Beliefs
Many believe that searing the cucumbers in hot brine "locks in" the crunch. That's not true. The crunch comes from the pectin and tannins, not the temperature of the pour.
Another myth is that you need a vacuum sealer for the jars. The boiling water bath process creates a natural vacuum as the air cools and contracts.
Save and Store Your Jars
After the lids have popped and the seal is tight, these Dill Pickles can be stored in a cool, dark pantry for up to a year. Keep them out of direct sunlight to ensure the green color doesn't fade.
Once a jar is opened, move it to the refrigerator. They will remain crisp for approximately 2 months when chilled.
Put the remaining brine to good use instead of pouring it down the drain. It works wonderfully as a marinade for grilled chicken or as a zesty addition to potato salad. You can also incorporate the leftover dill stems into a homemade pesto.
How to Enjoy Your Batch
Dill Pickles are the quintessential side dish. They're a classic pairing for a juicy cheeseburger or a stack of deli meats on rye bread.
For a snack, I love slicing them into rounds and topping them with a tiny bit of cream cheese and a sprinkle of paprika. They also work brilliantly in a chopped salad with tomatoes, red onion, and a lemon vinaigrette.
If you're serving them at a party, put them in a chilled bowl with a few fresh dill sprigs on top to make the platter look fresh.
Why You'll Love This Recipe
This technique for Dill Pickles puts you in charge of the sugar and salt ratios. Without the preservatives common in store-bought jars, the resulting flavor is much more vibrant.
It is an economical way to store your harvest. Combining basic ingredients vinegar, water, and salt yields a high impact condiment. Additionally, there's a special satisfaction in reaching for a jar you made yourself to round out a meal.
Once you experience the contrast between these and the commercial versions, you won't want to go back. The mix of crushed garlic and fresh dill provides a savory, classic profile that is deeply satisfying.
Critical Sodium Level
1828 mg 1,828 mg of sodium per serving (79% 79% of daily value)
The American Heart Association recommends a daily sodium limit of no more than 2,300 mg, and ideally 1,500 mg for most adults to reduce the risk of cardiovascular disease.
Tips to Reduce Sodium in Your Pickles
-
Reduce Pickling Salt-30%
The pickling salt is the primary sodium source; reduce the amount by half or substitute with a low-sodium pickling blend to significantly lower the salt content.
-
Enhance Acidity-15%
Increase the white distilled vinegar or add a splash of lemon juice to boost the tangy flavor, which helps compensate for the reduced salt.
-
Boost Aromatics-10%
Increase the amount of garlic cloves and mustard seeds to create a more intense flavor profile that distracts from the lower sodium levels.
-
Maximize Fresh Herbs
Use extra fresh dill sprigs and black peppercorns to add depth and brightness to the brine without adding any sodium.
Recipe FAQs
How long to process dill pickles in a water bath?
Process for 10 minutes. Ensure the water covers the tops of the jars by at least one inch to guarantee a proper seal.
What keeps pickles crunchy during the canning process?
Slice off the blossom end. Removing 1/16th of an inch from the end eliminates enzymes that soften the cucumber. Adding grape leaves also provides tannins that maintain the snap.
Is water bath canning mandatory for dill pickles?
No, and here's why. You can make fridge pickles for immediate eating, though they aren't shelf stable. For a faster version, try a quick homemade recipe.
When can I eat processed pickles?
Wait 24 hours. Let the jars sit undisturbed to allow the flavors to penetrate the cucumbers and the vacuum seal to set.
Which type of water works best for the brine?
Use filtered or distilled water. This prevents minerals found in hard tap water from making the pickles cloudy.
How to create a sweet pickle without a water bath?
Increase the sugar ratio and store in the fridge. This allows the cucumbers to pickle slowly without the need for heat processing.
Is it true that jars will explode if filled with boiling water?
This one's false: Canning jars are specifically designed to withstand boiling temperatures. Just ensure you maintain a 1/2 inch headspace to prevent pressure buildup.
Can I make pickles using a cold brine?
Yes, but store them in the fridge. Cold brine pickles are not shelf stable and must be kept chilled to prevent spoilage.
Old Fashioned Dill Pickles