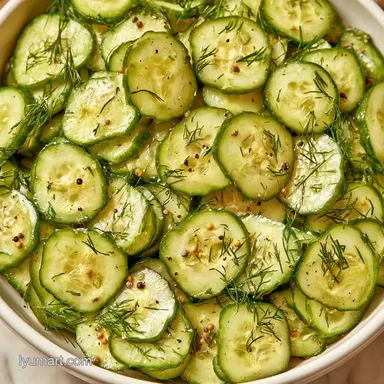
Crispy Old Fashioned Sliced Dill Pickles
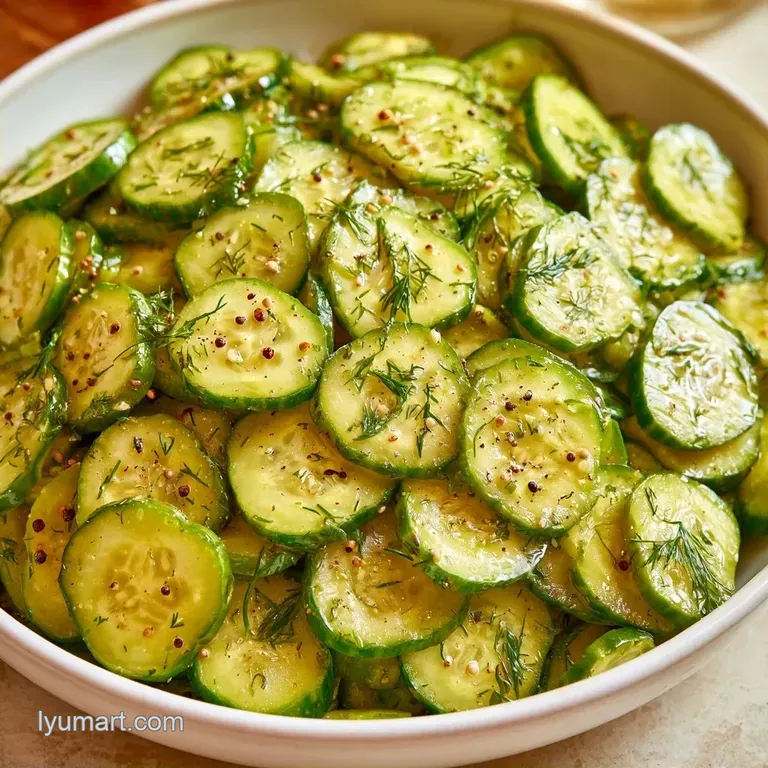
- Prep: 15 min active + 24 hrs chilling
- Taste & Feel: Zesty, salty punch with a crisp, audible crunch
- Best enjoyed as: Sandwich slices, deli-style boards, or a healthy, low-sugar treat
The pungent, vinegary aroma of a freshly opened jar immediately brings me back to summer. It's a scent that perfectly captures the essence of a family cookout. I spent years believing that achieving a professional deli crunch required specialized gear or expensive salts.
I relied on store-bought options for a while, but they were often soggy and tasted of chemicals.
In reality, you don't need any special chemicals for a perfect pickle. Most home cooks simply overcook their vegetables, essentially boiling the cucumber until the texture is lost. By managing the temperature carefully and sticking to the refrigeration time, these Dill Pickles retain a firm bite that really pops.
After experimenting with various proportions in my kitchen, I settled on this modest, classic method. It avoids excessive sugar, making it an affordable way to achieve that bold, nostalgic flavor we crave on a burger. The result is a refreshing, vibrant taste that remains clean on the tongue.
Why This Brine Works
Brine Temperature: Pouring the brine while it's hot but not boiling prevents the cucumbers from poaching. This keeps the internal structure firm.
Acetic Acid Ratio: The 1:1 ratio of vinegar to water provides a sharp tang without being overly aggressive. This balance is similar to what you'll find in a Pickle Recipe with Dill, though the chilling time here is longer for a deeper flavor.
The Shopping List
Kirby cucumbers are my top pick for these Dill Pickles. Compared to English cucumbers, they possess a denser interior and thinner skins, ensuring they stay crisp rather than becoming waterlogged. Any small pickling variety is a suitable alternative if Kirbys aren't available.
Your choice of salt matters. I prefer kosher salt because it lacks anti caking agents which can cloud the brine and dissolves more consistently. If you use table salt instead, reduce the amount slightly as it is more potent.
The Ingredients:
- 3 lbs Kirby or pickling cucumbers, sliced into 1/4 inch chipsWhy this? Firm texture and ideal size for brine absorption
- 6 cloves garlic, smashedWhy this? Crushing the garlic helps extract more aromatic oils
- 1/2 cup fresh dill, roughly choppedWhy this? Fresh dill has a brighter, grassier note than dried
- 2 tbsp whole black peppercornsWhy this? Provides a slow, woody heat
- 1 tbsp whole mustard seedsWhy this? Adds a subtle, pungent depth
- 2 cups white distilled vinegar (5% acidity)Why this? Standard acidity for safe, sharp pickling
- 2 cups filtered waterWhy this? Prevents mineral deposits from clouding the jars
- 1/4 cup kosher saltWhy this? Pure salt without additives for a clear brine
- 1 tsp red pepper flakesWhy this? Adds a tiny, barely there kick
Quick Substitutes:
- Apple Cider Vinegar: Works well but adds a fruitier, mellower tone.
- Dried Dill: Use 2 tbsp if fresh isn't available, though the color is duller.
- Sea Salt: A great swap for kosher salt, just measure by weight if possible.
Essential Kitchen Gear
No professional equipment is necessary here. I suggest using a stainless steel saucepan for the brine, as it won't react with the vinegar something that can happen with aluminum pots, which is why I avoid them.
For the slicing, a mandoline is incredibly helpful for achieving a precise 1/4 inch thickness, ensuring every piece pickles at the same speed. If you're opting for a knife, just be mindful to keep the slices consistent.
I stick to pint sized glass jars with secure lids. Plastic can be problematic, as it may absorb the vinegar's scent or release chemicals when hit with hot brine. To keep the taste clean, glass is the superior choice.
| Feature | Fresh Batch | store-bought |
|---|---|---|
| Texture | Loud, crisp snap | Often soft or rubbery |
| Flavor | Bright and sharp | Muted or metallic |
| Additives | None | Sodium benzoate/Yellow 5 |
Alright, let's move on to the process.
Making the Pickles
- Rinse the cucumbers well under cold water. Note: This removes any garden grit from the skin
- Trim the blossom end from every cucumber. Note: The blossom end has enzymes that soften the pickle
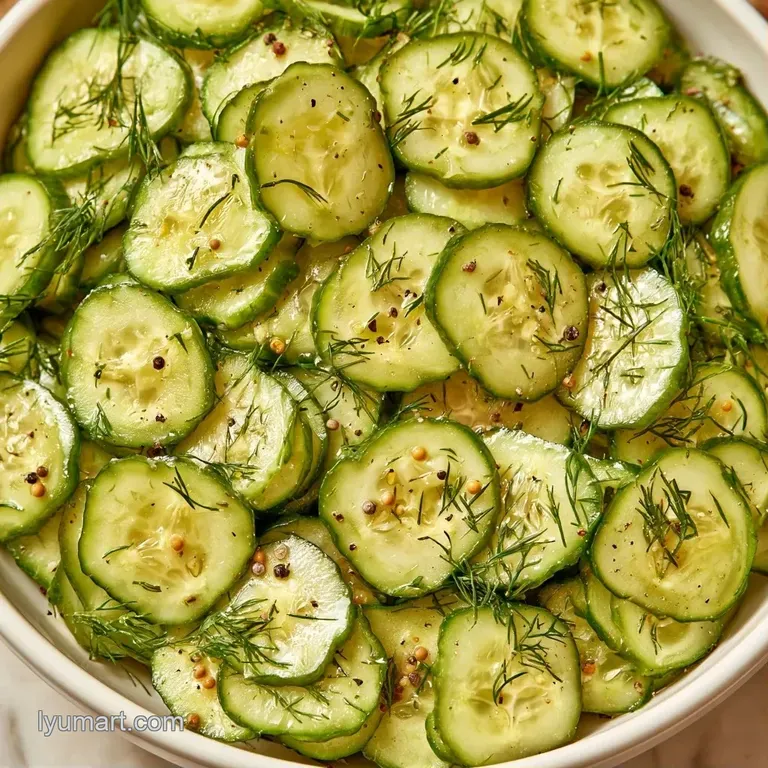
- Use a knife or mandoline to cut the cucumbers into consistent 1/4 inch rounds.
- Split the cucumber slices equally between five sanitized pint sized jars.
- Spread the crushed garlic, chopped fresh dill, black peppercorns, and mustard seeds evenly among the jars.
- Sprinkle a bit of red pepper flakes into each jar.
- In a stainless steel saucepan, mix the white vinegar, filtered water, and kosher salt.
- Heat the liquid over medium high until it reaches a gentle boil, stirring until the salt is completely dissolved. [Cook 5 min]
- Take off the heat and allow to rest for 2 minutes to cool slightly.
- Fill the jars with hot brine, leaving roughly half an inch of headspace.
- Close the lids and chill in the refrigerator for 24 hours until the slices turn a muted olive green.
Fixing Brine Issues
If your Dill Pickles come out feeling more like a cooked vegetable than a pickle, it's usually a temperature issue. If the brine is boiling when it hits the cucumber, it basically blanches the vegetable, destroying that cell structure we want. Always let it sit for a couple of minutes after removing it from the stove.
Another common worry is the look of the brine. If it looks cloudy, it's often due to the minerals in your tap water reacting with the vinegar. Using filtered water almost always fixes this.
And if the flavor feels too weak, you probably didn't wait the full 24 hours. These need time to move from the outside in.
Soft Texture
The blossom end is the main culprit here. It contains pectinase, an enzyme that breaks down pectin, which is what keeps the vegetable walls strong.
Cloudy Brine
This happens when hard water minerals bond with the acid. It doesn't affect safety, but it doesn't look as clean.
Bland Flavor
Fresh dill and garlic take time to infuse. The first 12 hours are just the beginning.
| Problem | Fix |
|---|---|
| Soft texture | Trim the blossom ends |
| Cloudy brine | Use filtered water |
| Bland taste | Wait the full 24 hours |
Customizing Your Batch
I like to keep these classic, but you can easily tweak them. If you want more heat, you can add a sliced jalapeño to each jar along with the red pepper flakes. It gives a different kind of burn that's more "green" and fresh.
For those who prefer a slightly different tang, you can try a Pickles with White Vinegar recipe approach by adjusting the salt levels. Some people like a bit of sweetness, and while these are low sugar, a teaspoon of honey in the brine won't ruin the snap.
Decision Shortcut:
- Extra heat? → add 1/2 tsp more red pepper flakes.
- Tarter finish? → swap 1/4 cup water for vinegar.
- Milder garlic? → use 3 cloves instead of 6.
Storage and Scrap Tips
These Dill Pickles remain crunchy in the refrigerator for 3 to 4 weeks. To maintain this, always use a fresh fork when retrieving them. Introducing bacteria via your hands or a sandwich will cause them to lose their snap quickly.
Once the pickles are gone, save the remaining brine. This flavored vinegar is great for marinating grilled chicken or can be mixed with mayonnaise to create a fast tartar sauce.
Save any extra dill stems rather than discarding them. I store mine in a freezer bag and toss them into vegetable stock for a bright touch, as the stems are packed with flavor.
Serving Your Slices
The best way to enjoy these is on a toasted rye bread sandwich with some deli turkey and Swiss cheese. The acidity of the Dill Pickles cuts through the richness of the cheese and the meat.
If you're serving them as a snack, put them in a chilled bowl with a few ice cubes underneath. Keeping them cold right up until they hit your tongue enhances the perception of the crunch.
I also love these as a side for a heavy roast. The brine cleanses the palate between bites of fatty meat. Trust me on this, a few of these Sliced Dill Pickles on the side of a pork chop is a game winning move.
When you're plating them, try to get a slice of garlic and a sprig of dill on top of the pile. It looks a bit more thoughtful and reminds everyone that these are homemade. These Dill Pickles are just satisfying in their simplicity.
Whether you're using them for a quick lunch or a big family spread, they bring that classic comfort flavor that works every time. Just remember to let them chill, keep your slices even, and enjoy that snap.
Recipe FAQs
How do you make sliced dill pickles?
Slice cucumbers into 1/4 inch chips and pack them into jars with garlic, dill, peppercorns, and mustard seeds. Pour hot vinegar brine over them and refrigerate for 24 hours.
Does a home recipe need special equipment?
No, basic jars and a stainless steel saucepan are all you need. Using a mandoline for uniform slices helps the brine penetrate evenly.
Is it true that any cucumber works for pickling?
That's a myth. Kirby or pickling cucumbers are essential because they have the right skin thickness and density to stay crisp.
When will the flavors fully develop in the jars?
The pickles are ready after 24 hours in the refrigerator. This time allows the brine to penetrate the slices and locks in the crisp texture.
What steps create homemade dill pickle juice?
Stir together the white vinegar, filtered water, and kosher salt in a saucepan. Over medium high heat, simmer the liquid until the salt dissolves.
Why must the brine be simmered before pouring?
Simmering ensures the kosher salt is completely dissolved. It also helps the vinegar penetrate the cucumbers more effectively for a better flavor.
Which cucumber variety works best for this method?
Kirby or pickling cucumbers provide the best results. If you enjoyed selecting the right produce here, see how proper ingredient choice impacts our Beef Vegetable Foil Packets.
Do these slices remain crisp in the refrigerator?
They stay crisp for about 3 to 4 weeks. Use a clean fork when removing them to avoid introducing bacteria that causes softening.
Sliced Dill Pickles