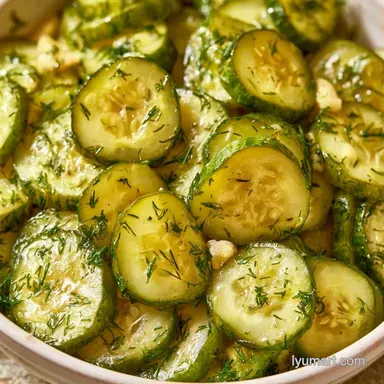
Canning Dill Pickle Recipe: Ultra-Crispy
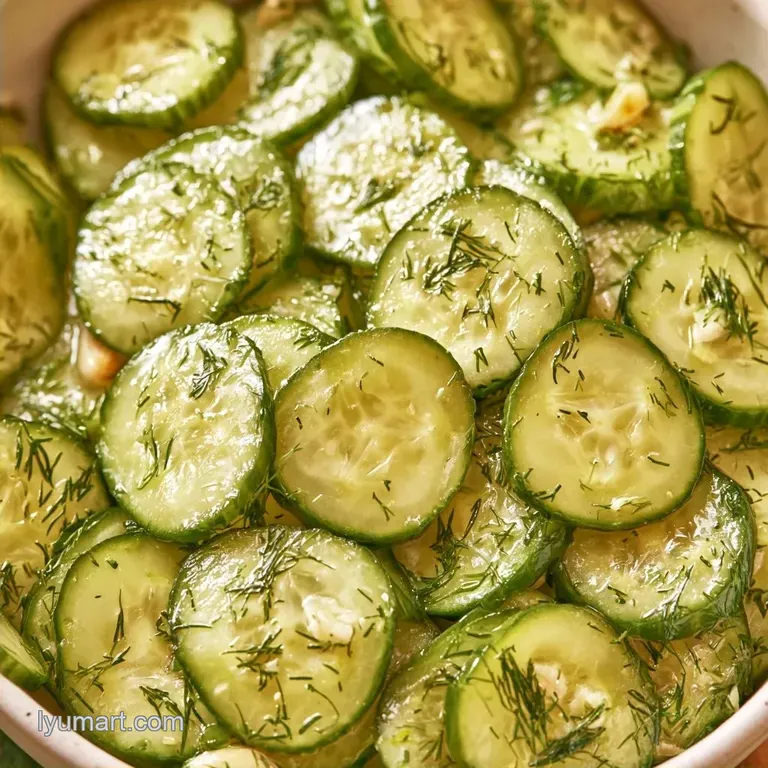
- Time: 30 min active + 15 min processing
- Flavor/Texture Hook: Bracing vinegar zip with a shatter-crisp bite
- Perfect for: Novices seeking a traditional pantry essential
- How the Crunch Stays
- Picking the Best Produce
- Gathering Your Essentials
- Gear for Simple Canning
- Steps for Crunchy Pickles
- Fixing Common Pickle Problems
- Dietary Adaptations
- Adjusting Your Batch Size
- Long Term Preservation Tips
- Great Sides for Pickles
- Key Techniques Explained
- Critical in Sodium
- Recipe FAQs
- 📝 Recipe Card
There is nothing like the sharp, audible crunch of a chilled pickle. It's incredibly disappointing to open a homemade jar only to find the slices have turned mushy and soft. This failure usually stems from neglecting one small, easily missed detail on the cucumber.
I once blamed the water temperature or the amount of vinegar for my failures. Eventually, I discovered the culprit: the blossom end. This small tip houses enzymes that destroy pectin, the natural compound responsible for maintaining a cucumber's firmness.
This Canning Dill Pickle Recipe solves that problem. I have streamlined the process to provide a dependable technique that requires very little equipment. The result is a traditional, garlic forward, salty pickle that maintains its texture for months.
How the Crunch Stays
- Blossom End Trim: Slicing off the tip removes pectinase, the enzyme that causes mushiness.
- Pickling Salt: Using salt without iodine prevents the brine from turning cloudy or gray.
- Calcium Chloride: This additive firms up the cell walls for a more consistent snap.
If you're in a rush and don't need shelf stable jars, you might prefer [quick fridge pickles](https://lyumart.com/recipes/quick homemade-pickle recipe/), but the canned version lasts much longer.
| Method | Time | Texture | Best For |
|---|---|---|---|
| Quick Fridge | 30 mins | Very Crisp | Immediate eating |
| Water Bath | 55 mins | Firm & Snappy | long term storage |
The main difference is the heat processing. Canned pickles undergo a thermal shift that allows them to sit in a pantry, whereas fridge pickles rely on cold temperatures to slow down softening.
Picking the Best Produce
This recipe requires "pickling" cucumbers, which are smaller and have thicker skins than the slicing variety used in salads. Thinner skins often collapse during the 15 minutes of boiling. To achieve a cleaner taste, you might prefer these white vinegar pickles.
3 Core Produce Ingredients
The cucumbers provide the foundation, while fresh dill adds a grassy, herbal quality. Garlic is smashed rather than minced to slow the release of flavor, ensuring the brine doesn't become too pungent too quickly.
4 Brine Components
Filtered water prevents minerals from clouding the jars, and white distilled vinegar provides the acidity essential for safety. Pickling salt is mandatory, while calcium chloride serves as an "insurance policy" for a crisp texture.
3 Traditional Spices
Mustard seeds contribute a subtle tang, black peppercorns bring woody heat, and red pepper flakes add a touch of warmth without making the result spicy.
Gathering Your Essentials
- 3 lbs pickling cucumbers Note: Thicker skins avoid mushiness
- 4 sprigs fresh dill Note: Vital for that classic herbal taste
- 4 garlic cloves Note: Smashed for a consistent flavor release
- 2 cups white distilled vinegar Note: High acidity for long term stability
- 2 cups filtered water Note: Prevents mineral induced cloudiness
- 2 tbsp pickling salt Note: Pure salt without iodine or additives
- 1/2 tsp calcium chloride Note: Keeps the texture crisp and firm
- 1 tsp mustard seeds Note: Adds a traditional piquant quality
- 1 tsp black peppercorns Note: Delivers a sharp, aromatic bite
- 1/4 tsp red pepper flakes Note: Adds a hint of background warmth
Gear for Simple Canning
You don't need a professional lab to do this. A large stainless steel pot that can fit your jars is the most important tool. I suggest using a jar lifter, as pulling hot jars out of boiling water by hand is a recipe for burns.
A plastic utensil or a "bubble remover" tool is helpful for getting air out of the jars. If you don't have one, a clean plastic knife works just fine. Make sure your jars are compatible with your lids; mixing brands can sometimes lead to seal failure.
Steps for Crunchy Pickles
1. Initial Preparation
Clean the cucumbers under cold running water to remove debris. Trim about 1/16th of an inch from the blossom end of each one. This is key for maintaining the right texture. Wash your lids and jars in hot, soapy water.
To prevent the glass from breaking when adding hot brine, keep the jars warm inside the canner.
2. Preparing the Brine
In a stainless steel pot, mix filtered water, pickling salt, white distilled vinegar, and spices. Bring to a rolling boil and stir until the salt has fully dissolved, then immediately remove the pot from the heat.
3. Filling the Jars
Drop one smashed garlic clove and a sprig of dill into the bottom of each of the four jars. Pack the cucumbers in tightly, choosing either whole pieces or vertical spears. Press them down firmly, but be careful not to crack the vegetables.
4. The Water Bath Method
Fill the jars with hot brine, leaving 1/2 inch of headspace. Use a plastic tool to stir out any trapped air bubbles. Wipe the rims with a damp cloth and seal with the lids.
Place the jars in the water bath canner, making sure the water level is at least 1 inch above the tops. Process in boiling water for 15 minutes. Use a jar lifter to remove them and set them on a towel to cool.
Fixing Common Pickle Problems
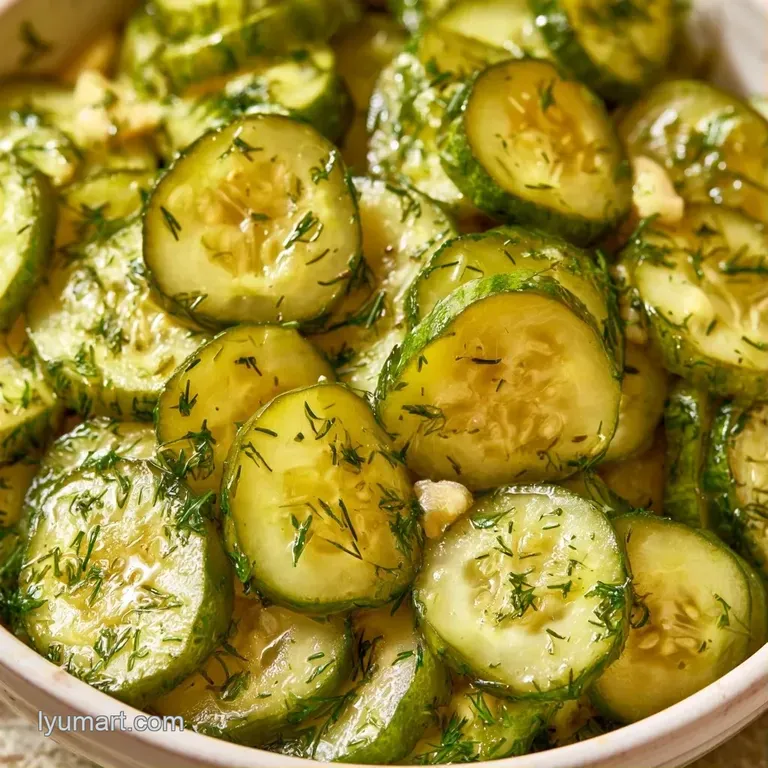
When pickles turn out soft, it's usually a result of enzyme activity or improper salt. If the brine looks cloudy, it's often because table salt was used instead of pickling salt. Iodine and anti caking agents in table salt react with the vinegar to create a murky liquid.
Fixing Mushy Pickles
Check that you trimmed the blossom ends and used calcium chloride. If the cucumbers were too ripe or old, they might still soften despite these steps.
Handling Failed Seals
Check the lids after 24 hours. If a lid pops up when pressed, the seal failed. You can either move that jar to the fridge and eat it within two weeks or re process it.
| Problem | Fix |
|---|---|
| Mushy Texture | Trim blossom ends and use calcium chloride |
| Cloudy Brine | Switch to pure pickling salt |
| Lid Not Sealed | Wipe rim clean and re process |
Dietary Adaptations
For those wanting a no sugar dill pickle recipe, this one is already sugar-free. The salt and vinegar do all the heavy lifting. If you need to lower the sodium, you can reduce the salt to 1 tbsp, but be aware that this may affect the long term crispness.
2 Flavor Twists
You can add a pinch of coriander seeds for a floral note or a slice of fresh ginger for a zesty kick. Both work well with the garlic and dill base.
2 Diet Swaps
If you can't find calcium chloride, a pinch of alum works, though some find the taste slightly metallic. For a lower acid version, you can use apple cider vinegar, but the color will be darker and the flavor more mellow.
Adjusting Your Batch Size
If you're only canning a couple of jars, just halve the ingredients. Use a smaller pot to keep the brine from evaporating too quickly during the boil.
When doubling or tripling this Canning Dill Pickle Recipe, don't simply multiply the spices by three. I find that the garlic and red pepper flakes can become overwhelming. Increase the salt and vinegar linearly, but only increase the spices to about 2x or 2.5x for a 3x batch.
| Original Ingredient | Substitute | Why It Works |
|---|---|---|
| White Vinegar | Apple Cider Vinegar | Similar acidity. Note: Adds a fruitier taste and amber color |
| Pickling Salt | Kosher Salt | No iodine. Note: Use slightly more by volume as grains are larger |
Always keep your headspace at 1/2 inch regardless of the batch size to ensure a proper vacuum seal.
Long Term Preservation Tips
Keep your sealed jars in a cool, dark spot, such as a cellar or pantry. While they remain shelf stable for roughly a year, they are generally best enjoyed within six months. After opening, refrigerate the jar and use the contents within two months.
Save the remaining brine for other uses. It works wonderfully as a marinade for grilled chicken or for quick pickling sliced red onions to top tacos. A small amount stirred into potato salad also adds a nice zesty tang.
Great Sides for Pickles
These pickles are a simple comfort food that works beautifully with rich, indulgent meals. They provide a bright contrast to the richness of fried chicken or a classic cheeseburger. I also enjoy serving them on a platter of sharp cheddar cheese with some grainy mustard.
For a heartier meal, try pairing them with smoked brisket or a pulled pork sandwich. The tangy flavor balances out the heavy meats.
Key Techniques Explained
1. The Pectin Factor
Cucumbers contain pectin, which keeps the vegetable firm. The combination of vinegar and the removal of blossom end enzymes prevents this pectin from breaking down during the boiling process.
2. Osmotic Pressure
The pickling salt creates a pressure gradient that draws water out of the cucumber and replaces it with the brine. This preserves the cells while infusing the garlic and dill flavors deeply into the core.
3. Thermal Safety
Processing the jars in a water bath for 15 minutes kills spoilage organisms and forces air out of the jar. This creates a vacuum seal that keeps the food safe at room temperature.
Critical in Sodium
2100 mg 2,100 mg of sodium per serving (91% 91% of daily value)
The American Heart Association recommends a daily sodium limit of no more than 2,300 mg, and ideally less than 1,500 mg for most adults to reduce cardiovascular risk.
Tips to Reduce Sodium
-
Reduce Pickling Salt-30%
The primary sodium source is the pickling salt. Try cutting the amount in half or using a potassium based salt substitute.
-
Increase Acidity-15%
Increase the white distilled vinegar or add a squeeze of fresh lemon juice to maintain the sharp 'tang' while using less salt.
-
Boost Aromatics-10%
Double the amount of garlic cloves to provide a stronger, savory flavor profile that compensates for the reduction in salt.
-
Amp Up the Heat-5%
Slightly increase the red pepper flakes or add a pinch of cayenne to create more flavor impact on the palate.
-
Load Up on Herbs
Add extra fresh dill or include fresh parsley to enhance the aromatic quality of the pickles without adding any sodium.
Recipe FAQs
How to make homemade dill pickles?
Combine filtered water, vinegar, salt, and spices in a pot. Bring the mixture to a rolling boil, pack cucumbers with dill and garlic in jars, and process them in a water bath.
What is the basic brine for canning?
Mix equal parts white distilled vinegar and filtered water. Stir in pickling salt, mustard seeds, black peppercorns, and red pepper flakes until the salt dissolves.
Is it true that you can skip the water bath process?
No, and here's why. Boiling water processing for 15 minutes is required to ensure a safe vacuum seal and prevent spoilage.
How do I keep my pickles crisp?
Slice 1/16th of an inch off the blossom end. This removes softening enzymes, and the addition of calcium chloride further preserves the crunch.
Can you use a 3-2-1 brine ratio with this recipe?
False. This specific recipe utilizes a 1:1 ratio of vinegar to water for the ideal acidity balance.
Do I need to remove the blossom end?
Yes, always remove it. The blossom end contains enzymes that make the cucumber mushy during the canning process. If you enjoyed mastering precision prep here, apply that skill to our classic peach jam.
Should the jars be processed for a specific time?
Yes, process for 15 minutes in boiling water. Ensure the water level covers the tops of the jars by at least 1 inch.
How long does it take for flavors to develop?
Wait at least 24 to 48 hours before eating. This allows the vinegar and spices to fully penetrate the cucumbers for a deep flavor.
Canning Dill Pickle Recipe