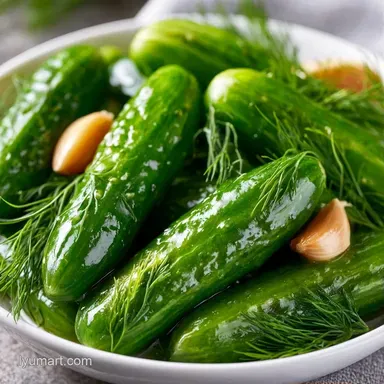
Canned Pickles with Garlic and Fresh Dill
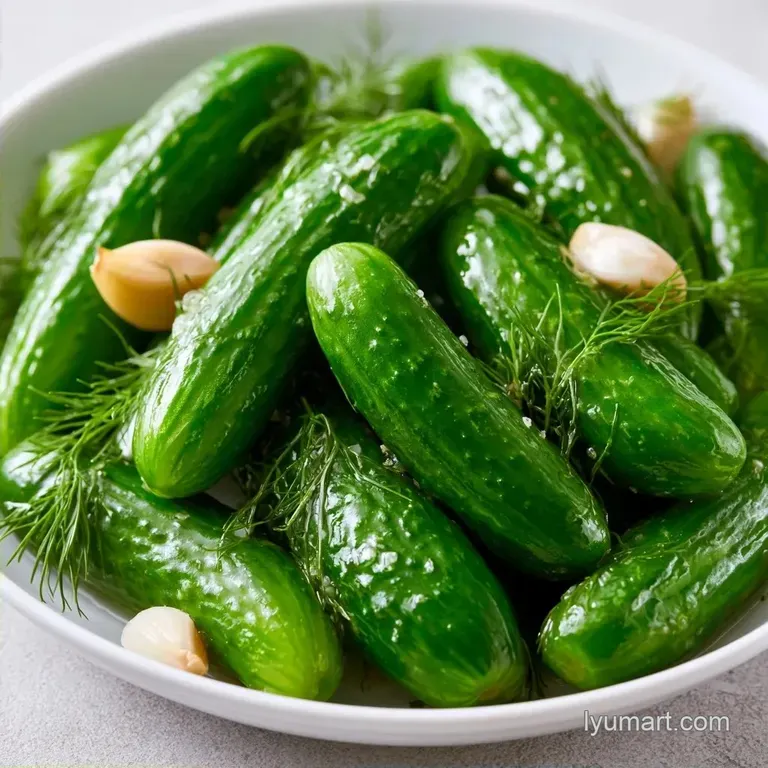
- Time: 30 min active + 15 min cook + 105 min resting/processing
- Flavor/Texture Hook: Sharp, acidic snap with a garlic punch
- Perfect for: Budget-friendly pantry stocking and beginner canners
- Getting Crisp Canned Pickles
- What Every Ingredient Does
- The Essential Pantry List
- Recipe Specs and Logic
- Basic Gear for Canning
- Step-by-Step Instructions
- Fixing Common Pickling Problems
- Storage and Shelf Life Guide
- Best Ways to Serve
- Customizing Your Batch
- Common Misconceptions
- Recipe FAQs
- 📝 Recipe Card
The smell of boiling vinegar and fresh dill always hits me the same way every August. It's a sharp, clean scent that means the kitchen is about to get very steamy. I spent a few summers watching my neighbors line up their jars, and I realized the difference between a mushy pickle and a crisp one is usually just one small slice of the cucumber.
You don't need a massive budget to stock your pantry. These Canned Pickles rely on basic ingredients that you probably already have in your cupboard. The goal is a classic, satisfying crunch that tastes like a backyard barbecue in the middle of February.
We're going for a traditional dill profile here. It's the kind of snack that works as a palate cleanser or a side for a heavy sandwich. Expect a bright, tangy result that holds its texture for months.
Getting Crisp Canned Pickles
Vinegar Balance: A 5% acidity level keeps the pH low enough to stop bacteria while preserving the cell walls of the cucumber. If you want a different flavor profile, try Pickles with Fresh Dill recipe.
Blossom End Removal: Cutting off the tip removes enzymes that naturally soften the vegetable. Canned Pickles stay firm because we stop those enzymes from working.
What Every Ingredient Does
| Component | Purpose | Substitute Notes |
|---|---|---|
| Kirby Cucumbers | Firm structure | English cucumbers: softer, less crunch |
| Distilled White Vinegar | Acidification | Apple Cider Vinegar: milder, slightly fruity |
| Pickling Salt | Brine clarity | Kosher salt: OK, but may cloud the liquid |
| Fresh Dill | Primary aroma | Dried dill: less punchy, use 1 tbsp |
The Essential Pantry List
- 3 lbs Kirby or pickling cucumbers, cut into rounds or spears Why this? The thicker skin withstands heat better
- 4 garlic cloves, crushed Why this? Crushing helps release more aromatic oils
- 4 sprigs of fresh dill heads or stems Why this? The heads offer a more intense flavor
- 1 tbsp whole black peppercorns Why this? Using whole peppercorns prevents the brine from clouding
- 4 cups water
- 1.5 cups white distilled vinegar (5% acidity) Why this? The required standard for safe water bath canning
- 1/4 cup pickling salt Why this? No additives, ensuring the brine remains clear
Recipe Specs and Logic
Here are the essential measurements for success. To ensure these turn out correctly, follow these precision steps: trim 1/16 inch off the blossom end, leave exactly 1/2 inch for headspace, and process the jars in a water bath for 10-15 minutes.
Depending on how you prepare the brine, the outcome will vary. Most prefer the stovetop method for speed, though some opt for cold packing.
| Method | Prep Style | Result |
|---|---|---|
| Stovetop (Hot Pack) | Boiling brine poured over veg | Faster processing, softer texture |
| Oven/Cold (Cold Pack) | Room temp brine, oven sterilized jars | Slower start, slightly firmer snap |
Basic Gear for Canning
You don't need a professional setup, but a few basics help. A large stockpot that can fit your pint jars is mandatory. I use a standard water bath canner, but any deep pot works as long as the water covers the lids.
Make sure you have a wide mouth funnel to avoid spilling brine all over your counters. Also, a clean damp cloth is helpful for wiping the rims. If any salt or seed stays on the rim, the jar won't seal.
Step-by-step Instructions
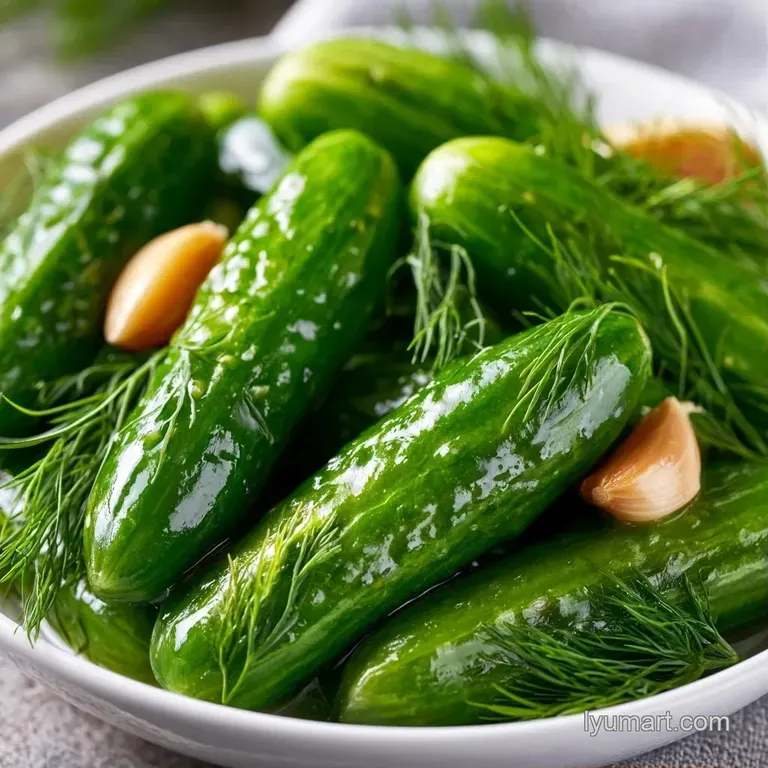
- Scrub and rinse the cucumbers. Trim 1/16 inch off the blossom tip to remove enzymes that cause softening.
- Cut the cucumbers into coins or spears.
- Add one crushed garlic clove, one sprig of dill, and a pinch of peppercorns to the bottom of each sterilized pint jar.
- Pack the cucumbers tightly into the jars, leaving 1/2 inch of headspace.
- Mix water, white vinegar, and pickling salt in a large pot.
- Heat the liquid over medium-high until it boils vigorously until the salt is completely dissolved.
- Gently fill each jar with the hot brine, maintaining 1/2 inch of headspace.
- Wipe the rims with a clean, moist cloth, center the lids, and tighten the rings until finger-tip tight.
- Submerge the jars in a water bath canner with at least 1 inch of water covering the tops and process the Canned Pickles for 10-15 minutes.
Fixing Common Pickling Problems
Canned Pickles can sometimes turn out softer than you'd like. This usually happens because of the cucumber variety or over processing. If you leave them in the boiling water too long, you're basically cooking the cucumber.
Seal failures are another headache. If the lid doesn't pop, it's usually because the rim was dirty or the lid wasn't centered. Check the seal 24 hours after canning.
Solving Soft Textures
Stick to the processing time strictly. Using cucumbers that are too old or too large also leads to a lack of crunch.
Handling Seal Failures
If a jar didn't seal, don't throw it out. Just put it in the fridge and eat it within three weeks.
Managing Cloudy Brine
This happens when using table salt with anti caking agents. Use pure pickling salt to keep the liquid clear.
| Problem | Root Cause | Solution |
|---|---|---|
| Mushy pickles | Processed too long | Reduce water bath time to 10 mins |
| Lid didn't seal | Dirty jar rim | Wipe rims with vinegar before closing |
| Cloudy liquid | Table salt used | Use pure pickling salt |
| Canned Pickles seal too tight | Over tightened rings | Use finger tip tightness only |
Storage and Shelf Life Guide
Keep canned pickles in a dark, cool spot, such as a cellar or pantry, where they will remain safe for up to a year. Once the seal is broken, move the jar to the refrigerator.
They can be kept chilled for up to two months after opening. To prevent them from softening, ensure the cucumbers stay below the brine line.
Save the remaining brine to use as a chicken marinade or to add acidity to a potato salad. Additionally, the leftover dill stems are great for flavoring cream cheese.
Best Ways to Serve
Canned pickles provide a brilliant contrast, cutting through the richness of fatty meats. I enjoy them thinly sliced on a traditional burger or served with a plate of sharp cheddar.
They also work wonderfully on a grazing platter alongside crusty bread and grainy mustard. If you want to experiment, dice them and fold them into tuna salad for a bright, tangy kick.
Customizing Your Batch
You can easily tweak the brine to fit your taste. For those doing larger batches, a Recipe for 4 Quarts works well.
- Extra heat? → add 2 sliced habaneros per jar
- More garlic punch? → double the garlic to 8 cloves
- Sweeter profile? → stir in 1/4 cup brown sugar to brine
If you want something different, try making Canned Pickles with cauliflower and carrots in the same jars. The brine works for most root vegetables. Just remember that different vegetables have different processing times.
Some people prefer Water Bath Canned Pickles that are slightly sweeter, similar to bread and butter style. For that, you'd swap the dill for celery seed and add sugar. I've found that Bath Canned Pickles generally hold their flavor better when you keep the spice mix simple. A few batches of Bath Canned Pickles will tell you exactly which balance of salt and acid you prefer.
Common Misconceptions
Many believe that boiling the cucumbers first makes them softer. Actually, the hot pack method helps the brine penetrate the skin faster.
Some think you need a pressure canner for pickles. You don't. The high acidity of the vinegar makes water bath canning safe for this recipe.
Another myth is that you can use any salt. Table salt contains iodine, which can turn the brine dark and affect the flavor of your Canned Pickles. Stick to pickling or canning salt for the best result.
Recipe FAQs
How is a pickle made?
Pack the cucumbers, brine, and aromatics into sterilized jars, and process in a water bath canner for 10-15 minutes.
Tip: Trim a tiny sliver off the flower end to keep them crisp.
How to make pickle relish from dill pickles?
Finely dice the canned cucumbers and stir in a small amount of the vinegar brine.
Tip: Pulse these in a food processor for a few seconds to get the right consistency.
Is it true that garlic always turns blue when pickling?
No, this is a common misconception. This color change is a harmless reaction between the garlic enzymes and the acid.
Tip: Smashed cloves work better than sliced ones for flavor distribution.
How do I make homemade dill pickle juice?
Boil 4 cups water, 1.5 cups white vinegar, and 1/4 cup pickling salt until the salt dissolves.
Tip: Simmer with a few peppercorns to deepen the savory profile.
What is the best way to make simple dill pickles?
Pack Kirby cucumbers with fresh dill and garlic, then pour over boiling brine and water bath process.
Tip: If you want a faster result without the canning equipment, try a quick homemade version.
Canned Pickles for 8 Pint Jars